Solidex excel 200 circuit bending
26/08/2026
✸This page is the written documentation that comes with the youtube video that comes at the bottom of this page. A french version is also available!✸
Last month I stubbled upon an old documentation from BPMC on how to circuit bend the Solidex Excel 200 video enhancer and decided to give it a try. While testing the bend points I saw that the effect descrribed where not what the same, and I also discovered new bend points on the circuit. Since I did not found any video tutorial on how to to this, I decided to make one (:
I tried My best to create a beginner friendly video, who can be useful to anyone getting into the hobby of circuit bending, since I believe the solidex excel 200 can be a good entry point for newcomers.
The video available at the bottom of this page is a step by step guide, useful if you never circuit bent anything before.
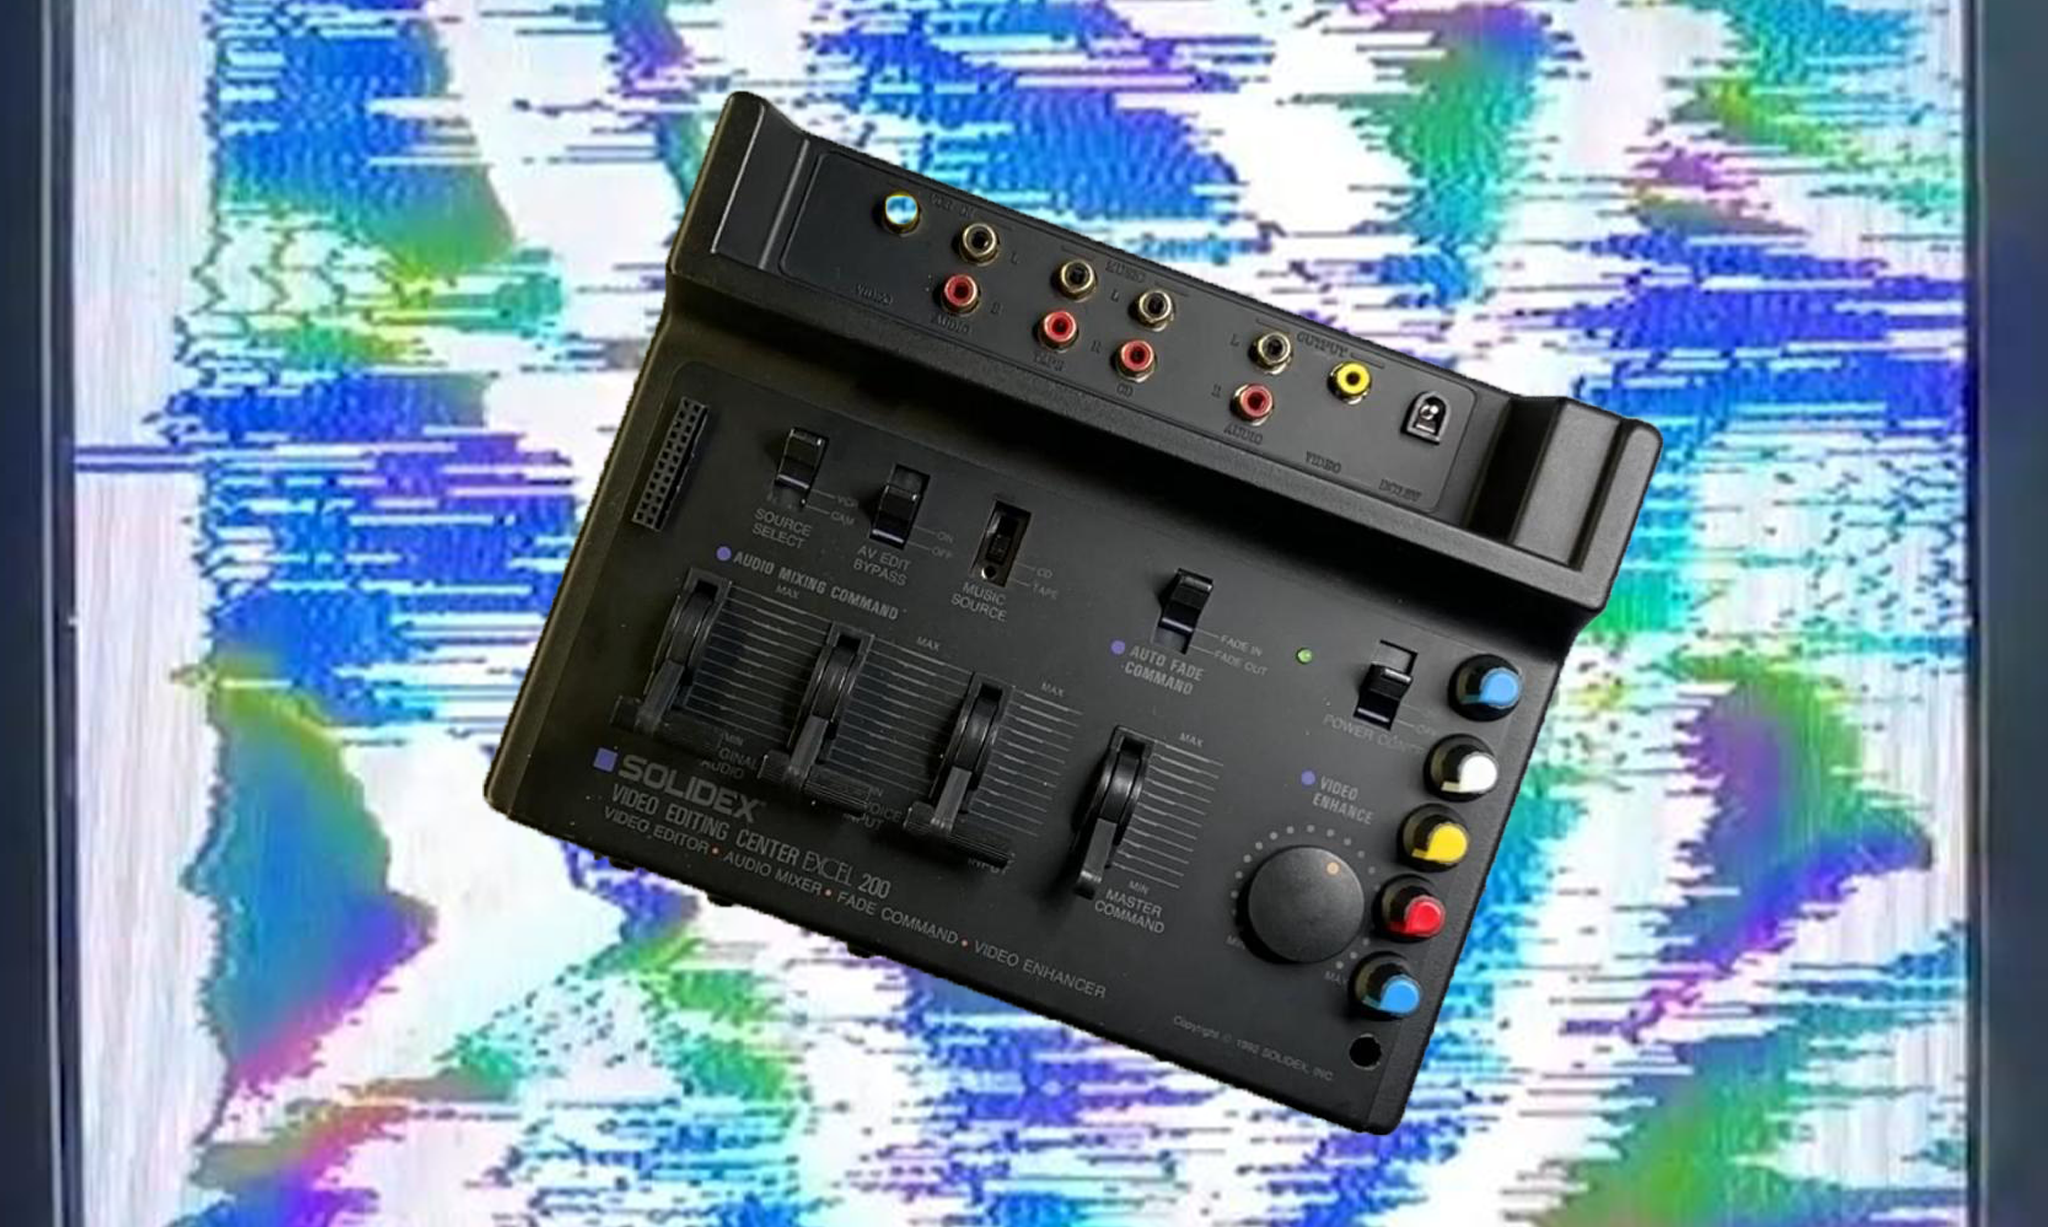
The excel 200 is a "video editing center" sold by Solidex in 1992 if I can trust the user manual. Most of this unit is an audio mixer that we won't use, but it features a "video enhance" knob that changes the sharpness of the video signal that you input in the device. It was mostly used as a way to get a slighty better video when digitazing old family VHS of video8 tapes back in the days.
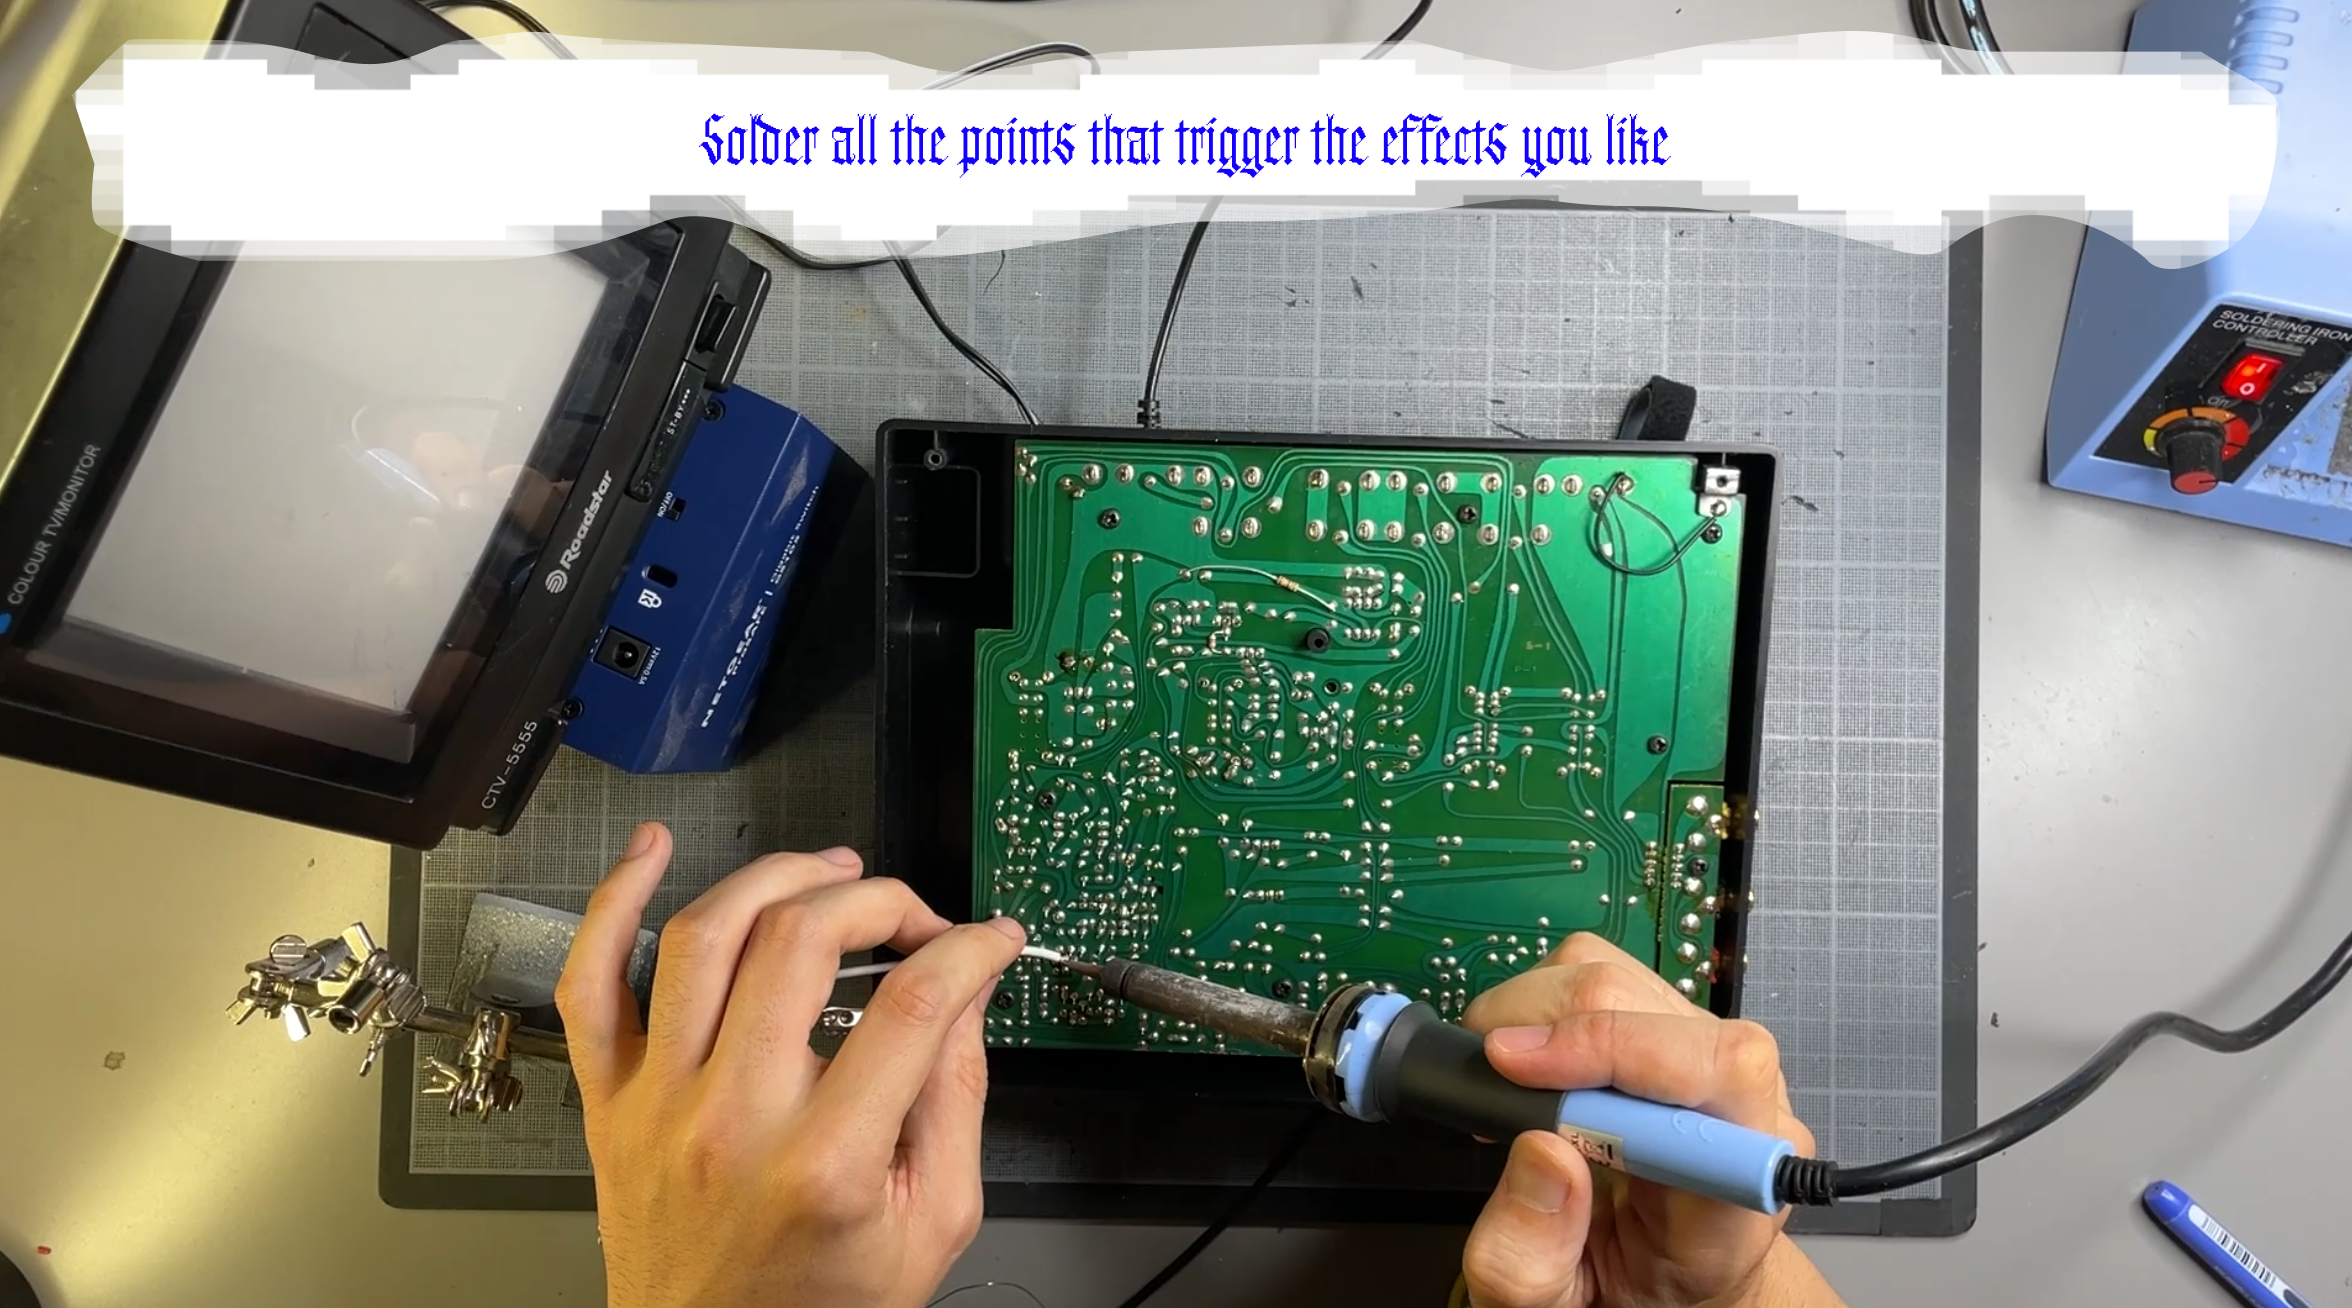
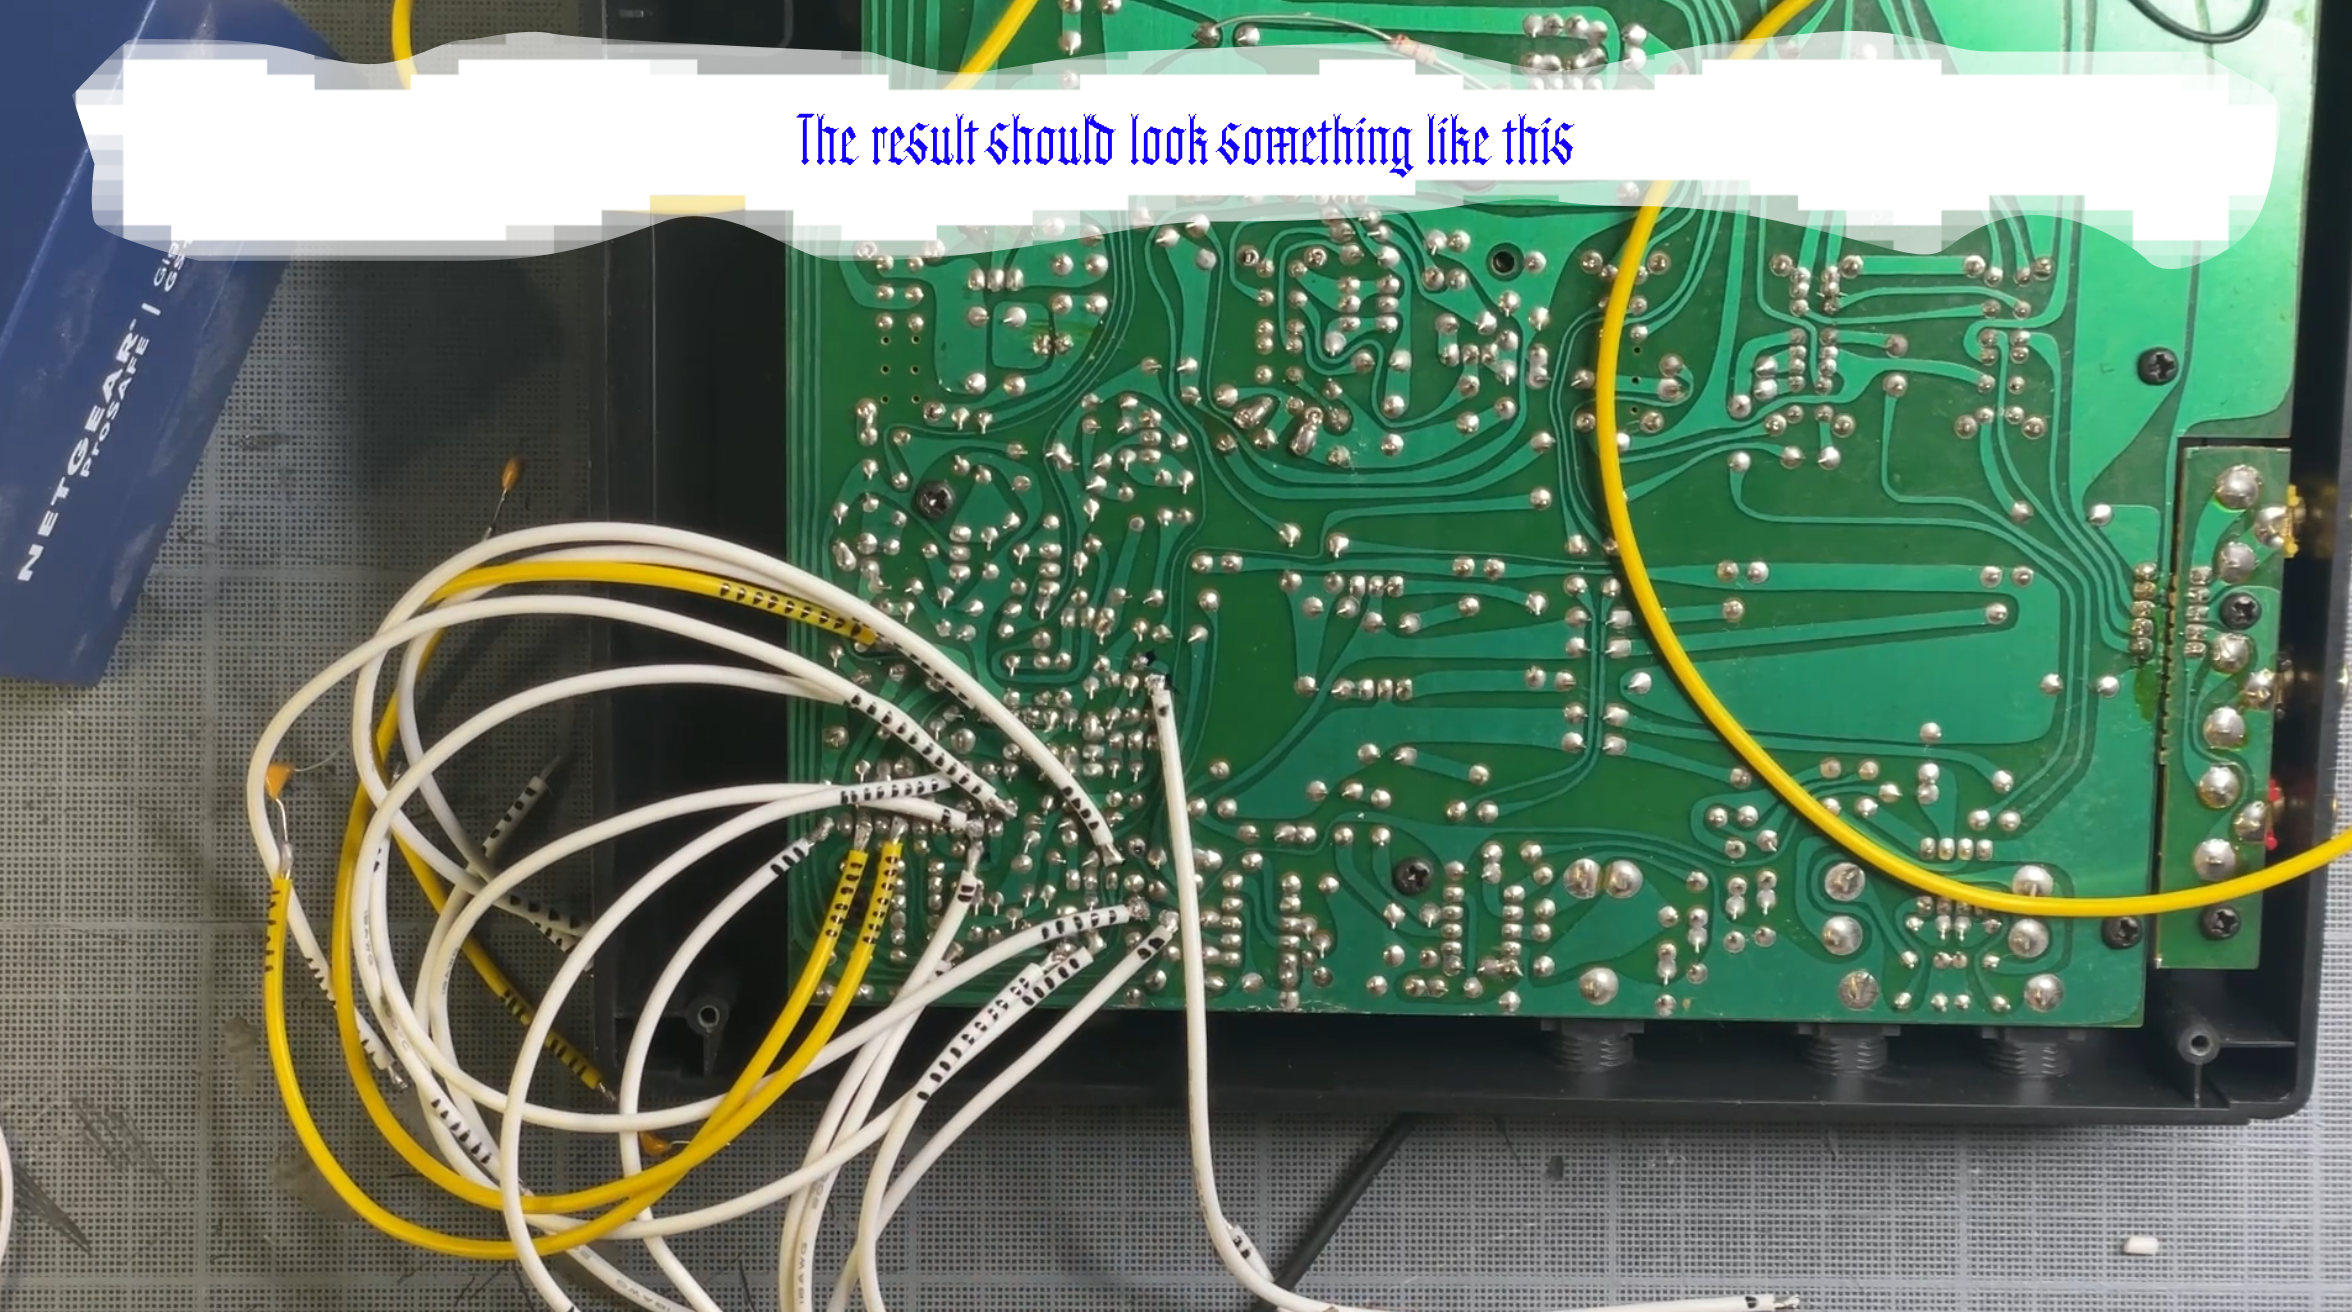
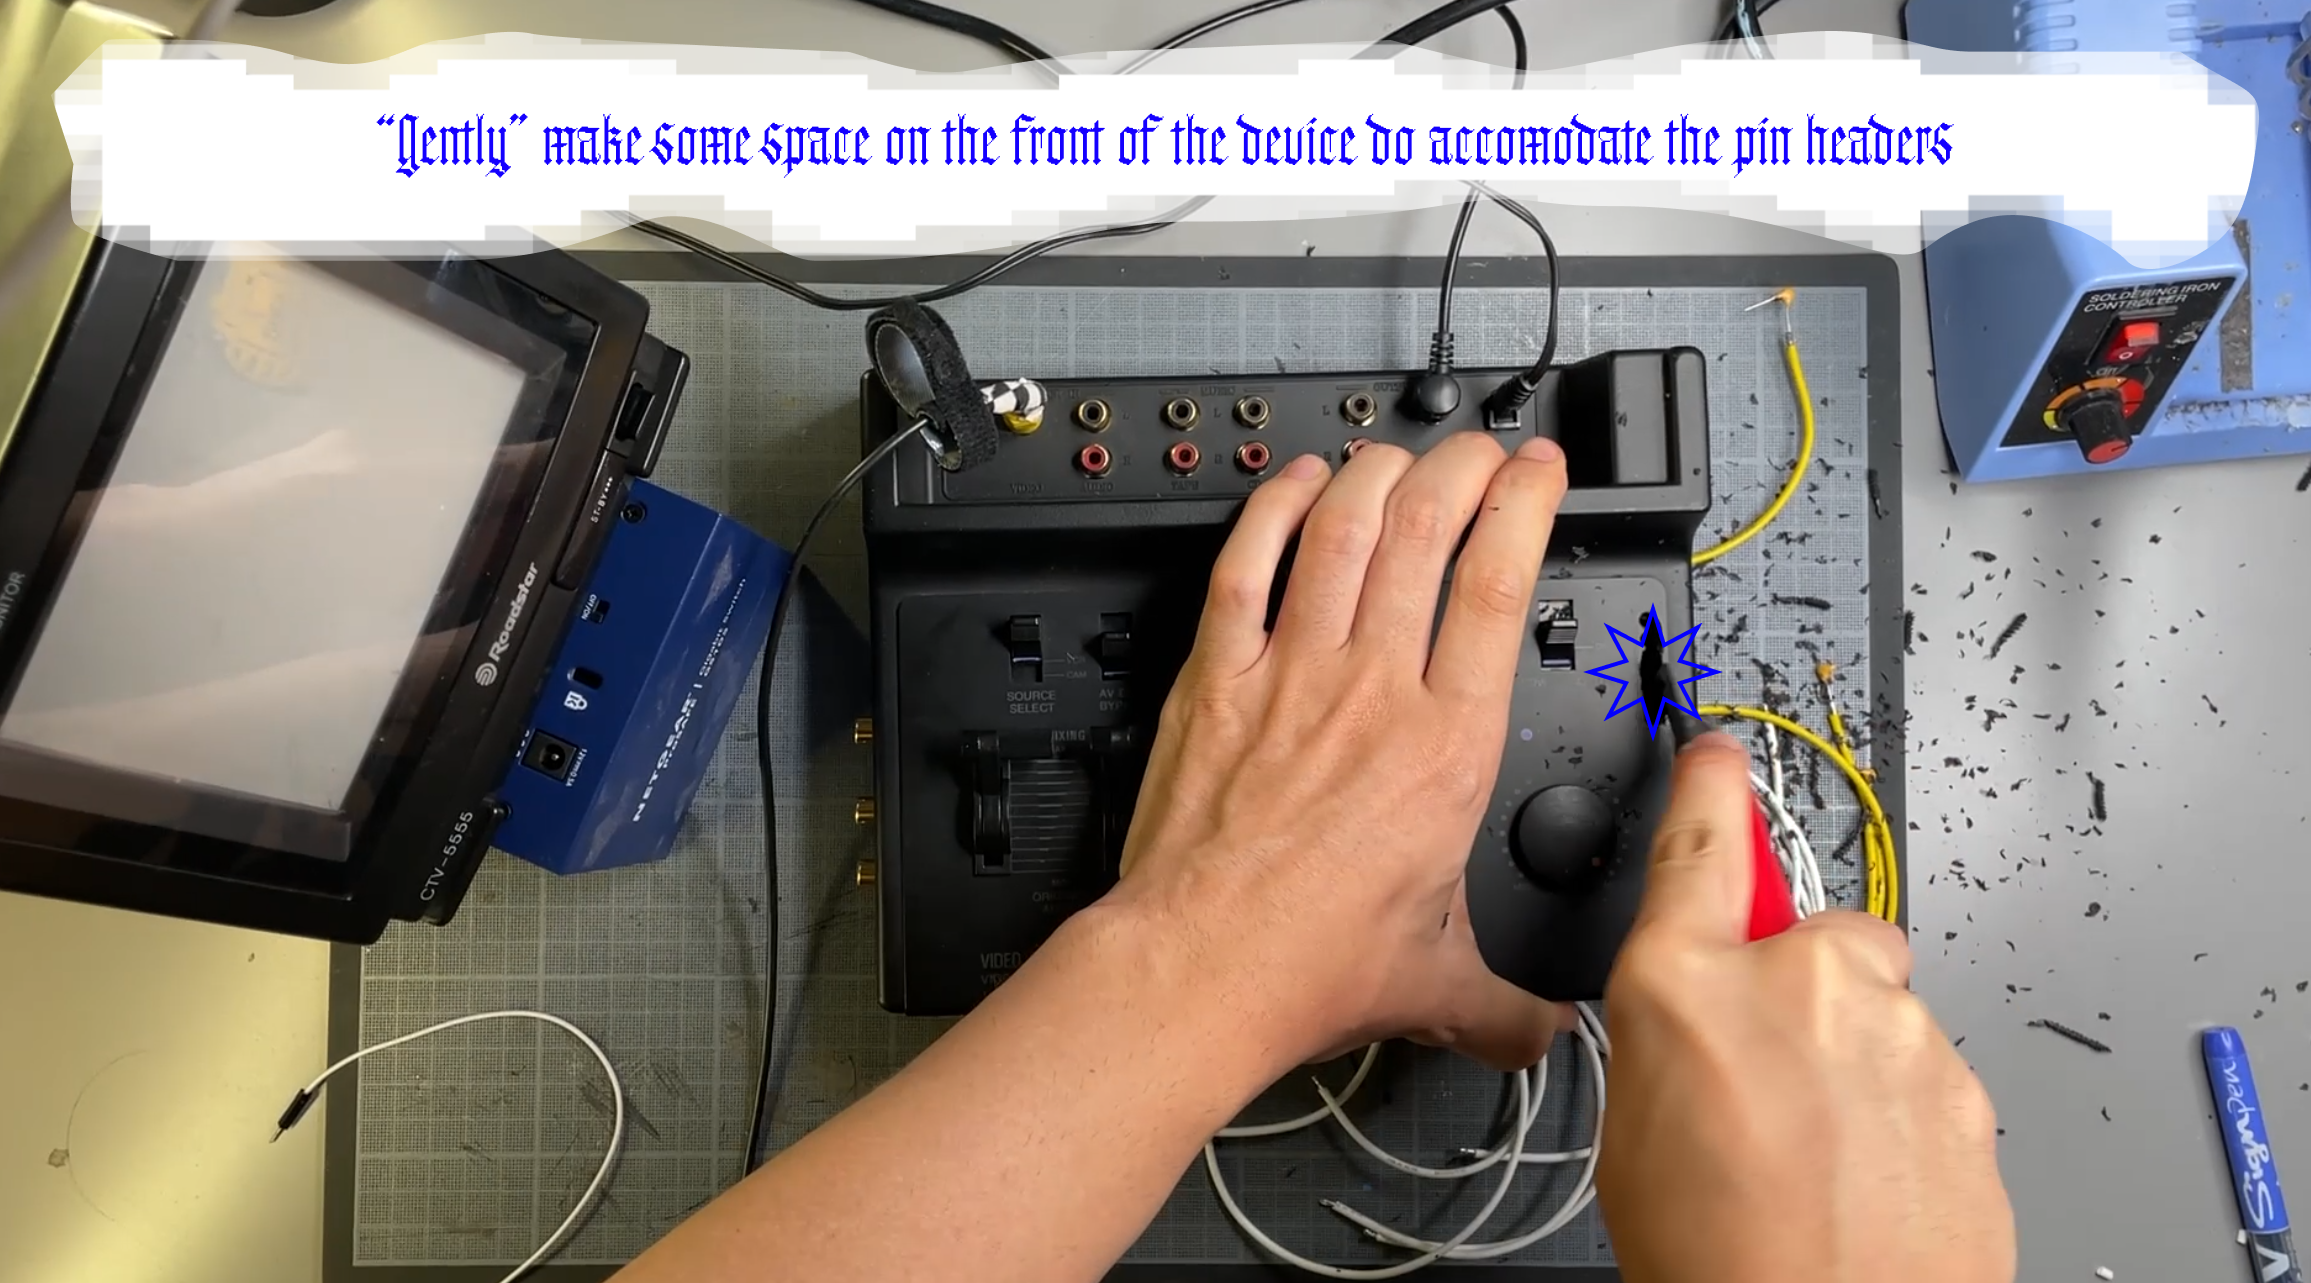
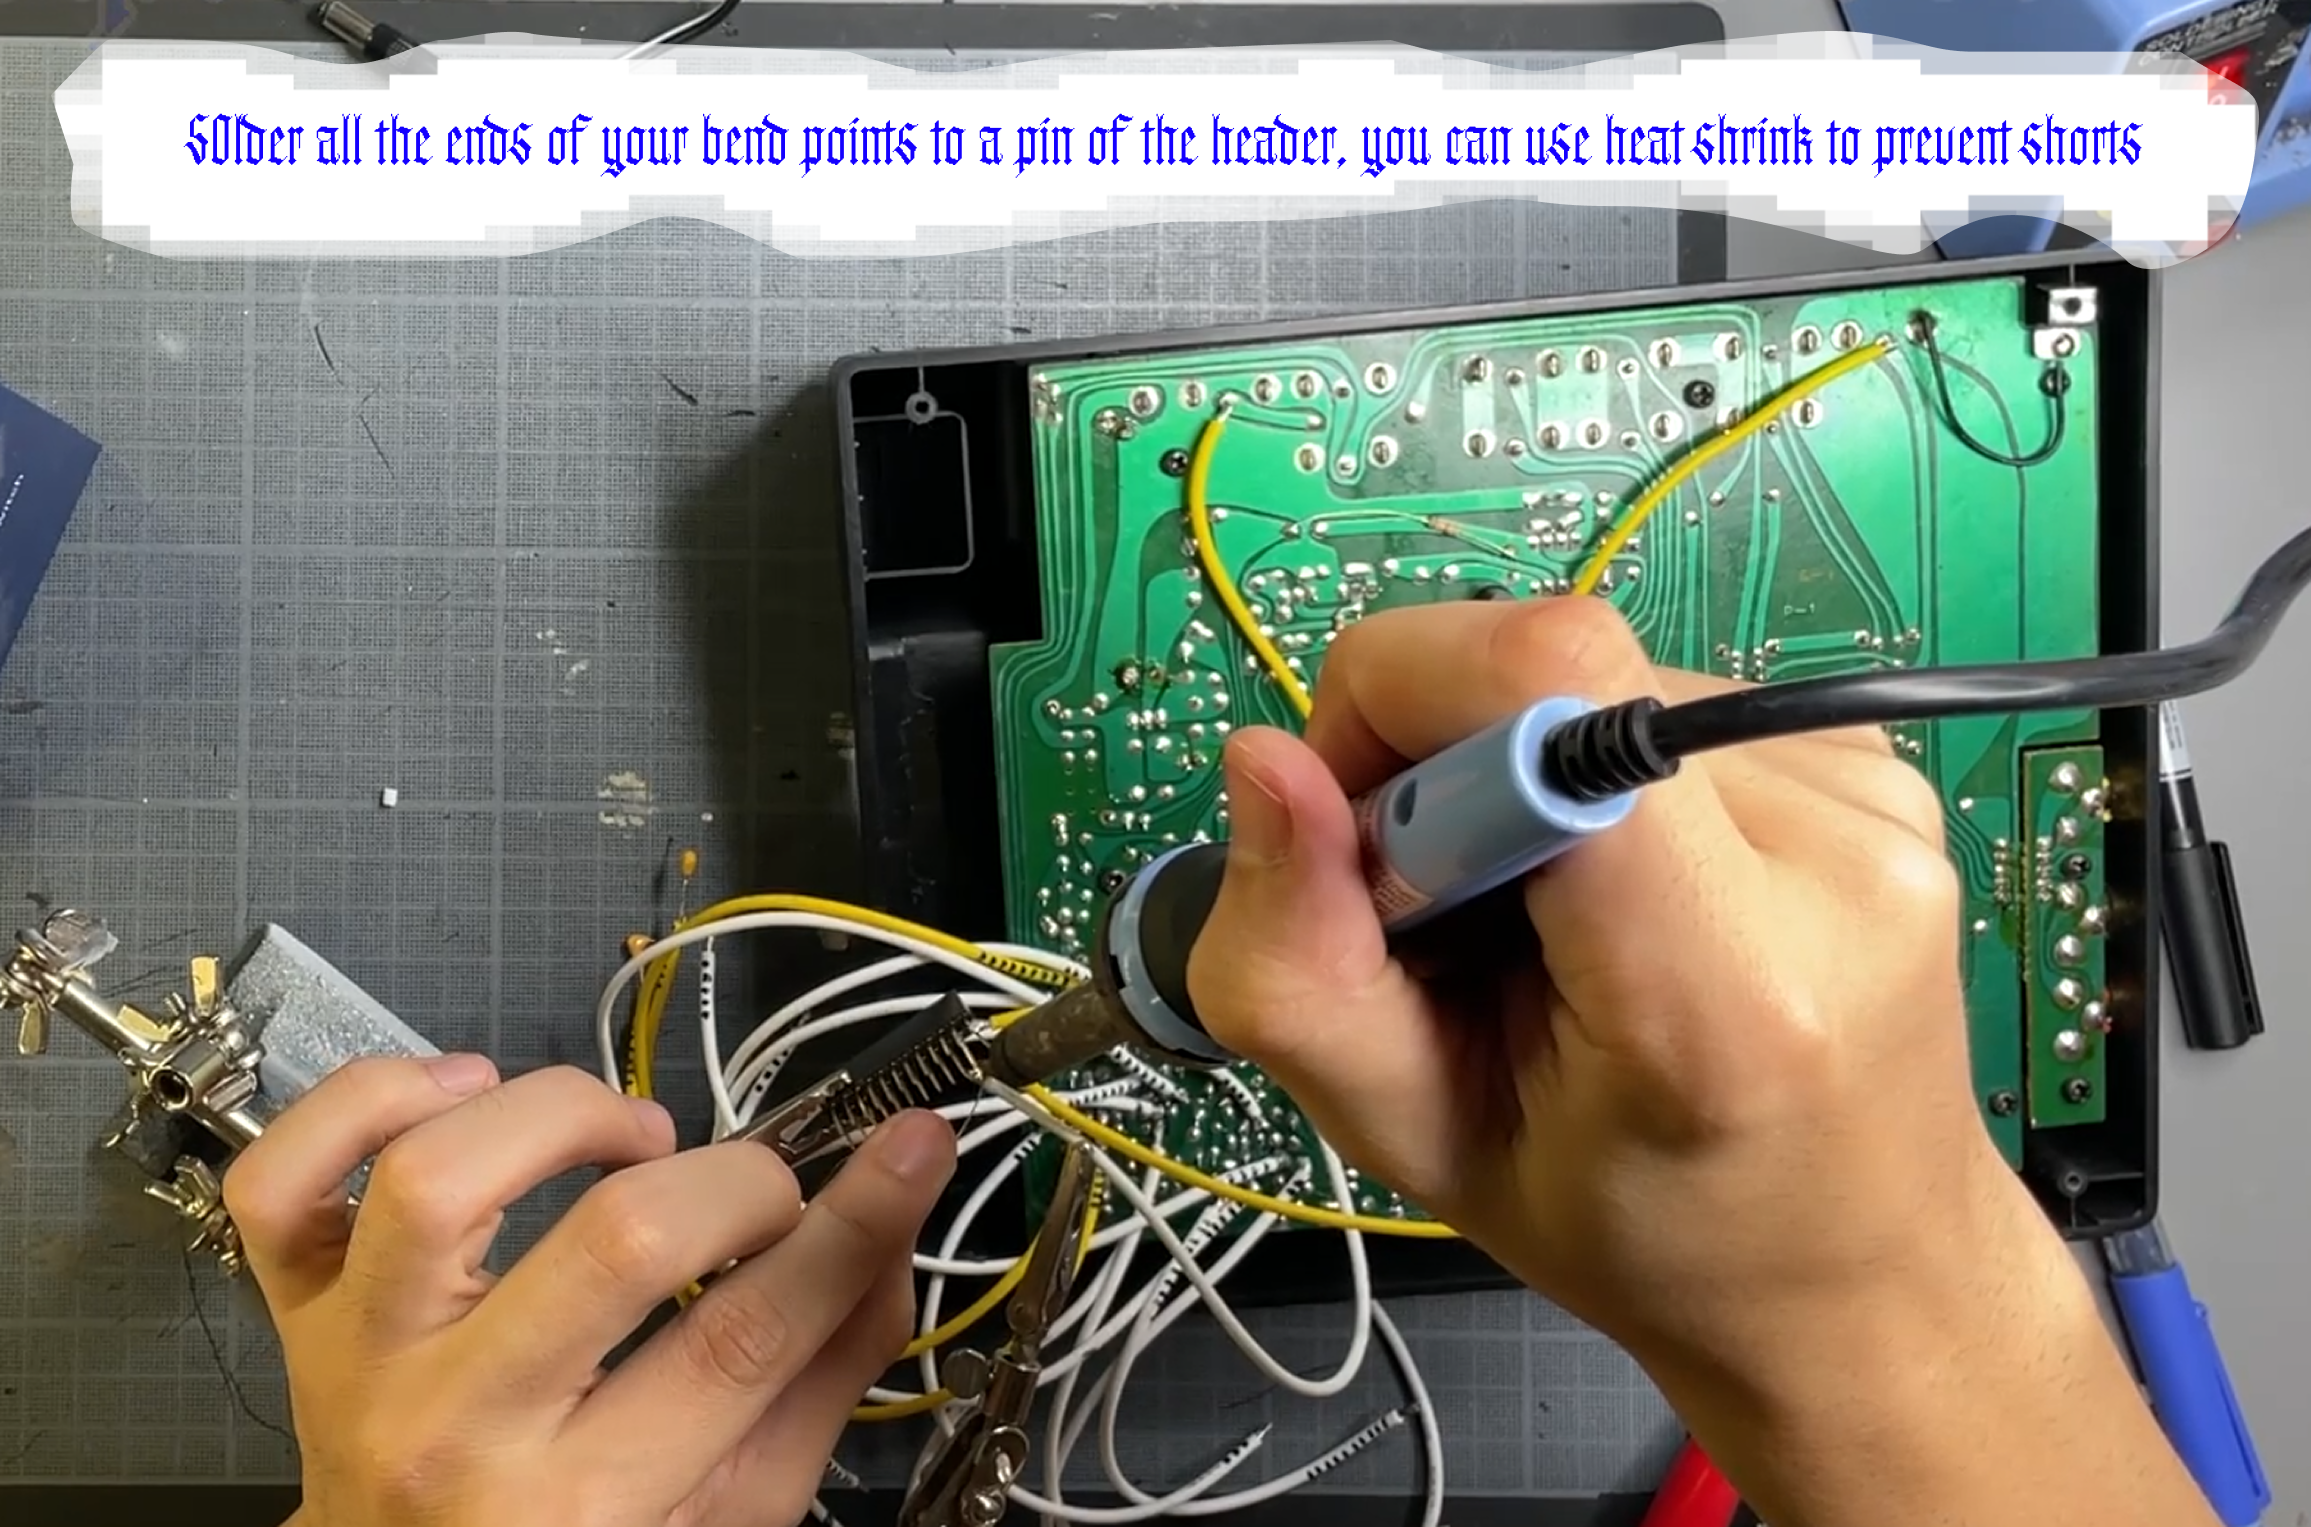
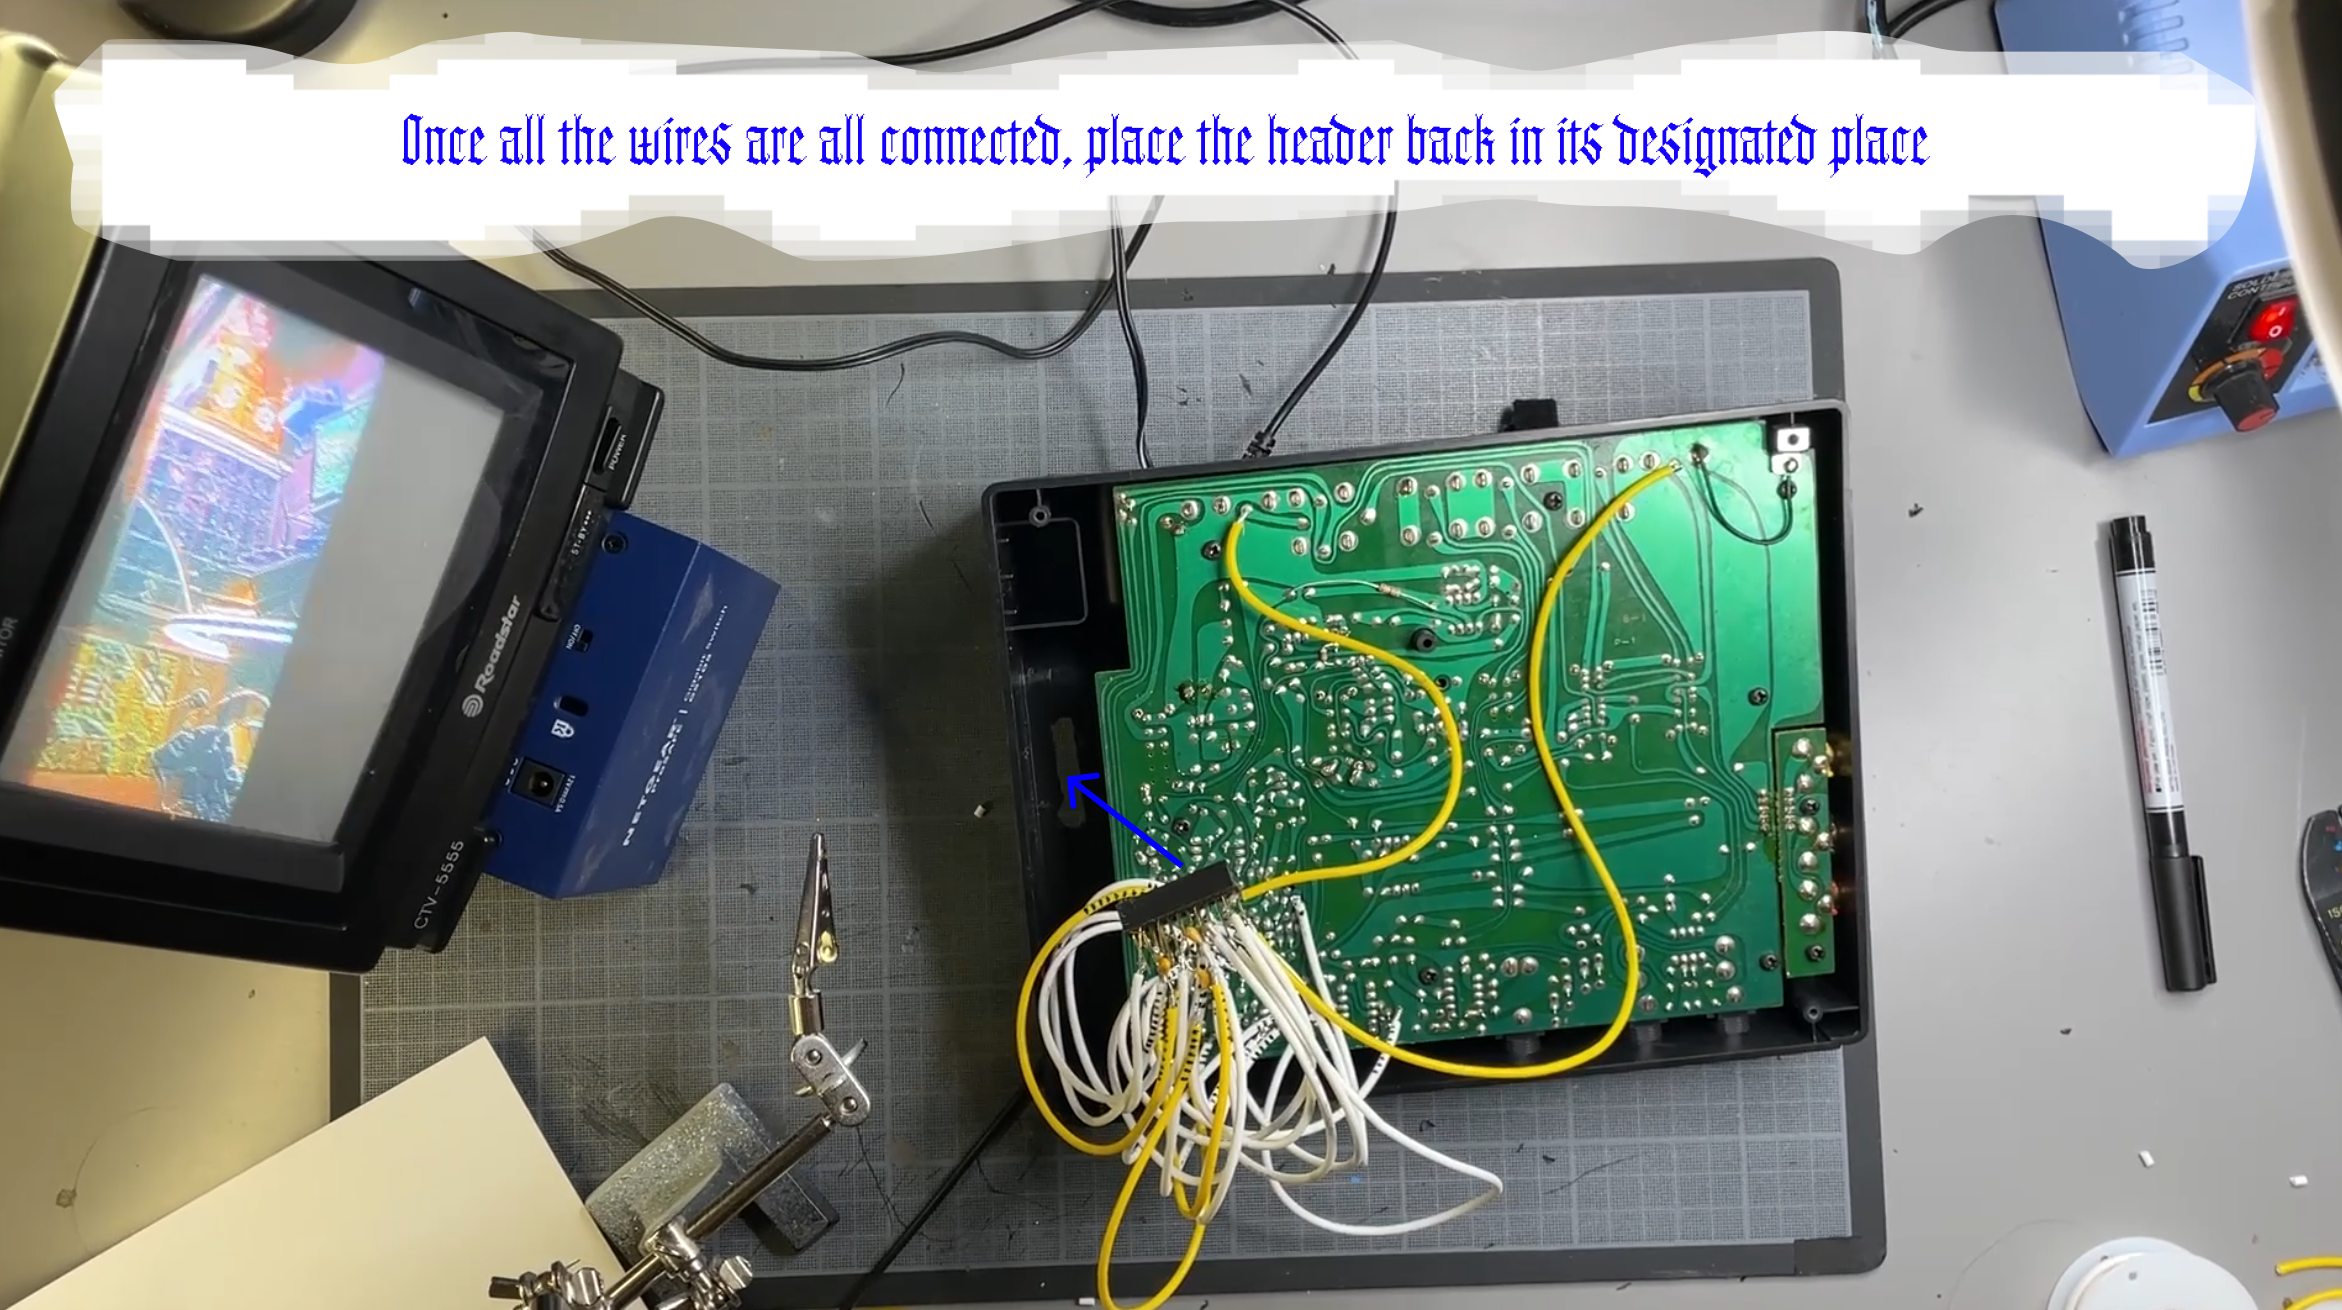
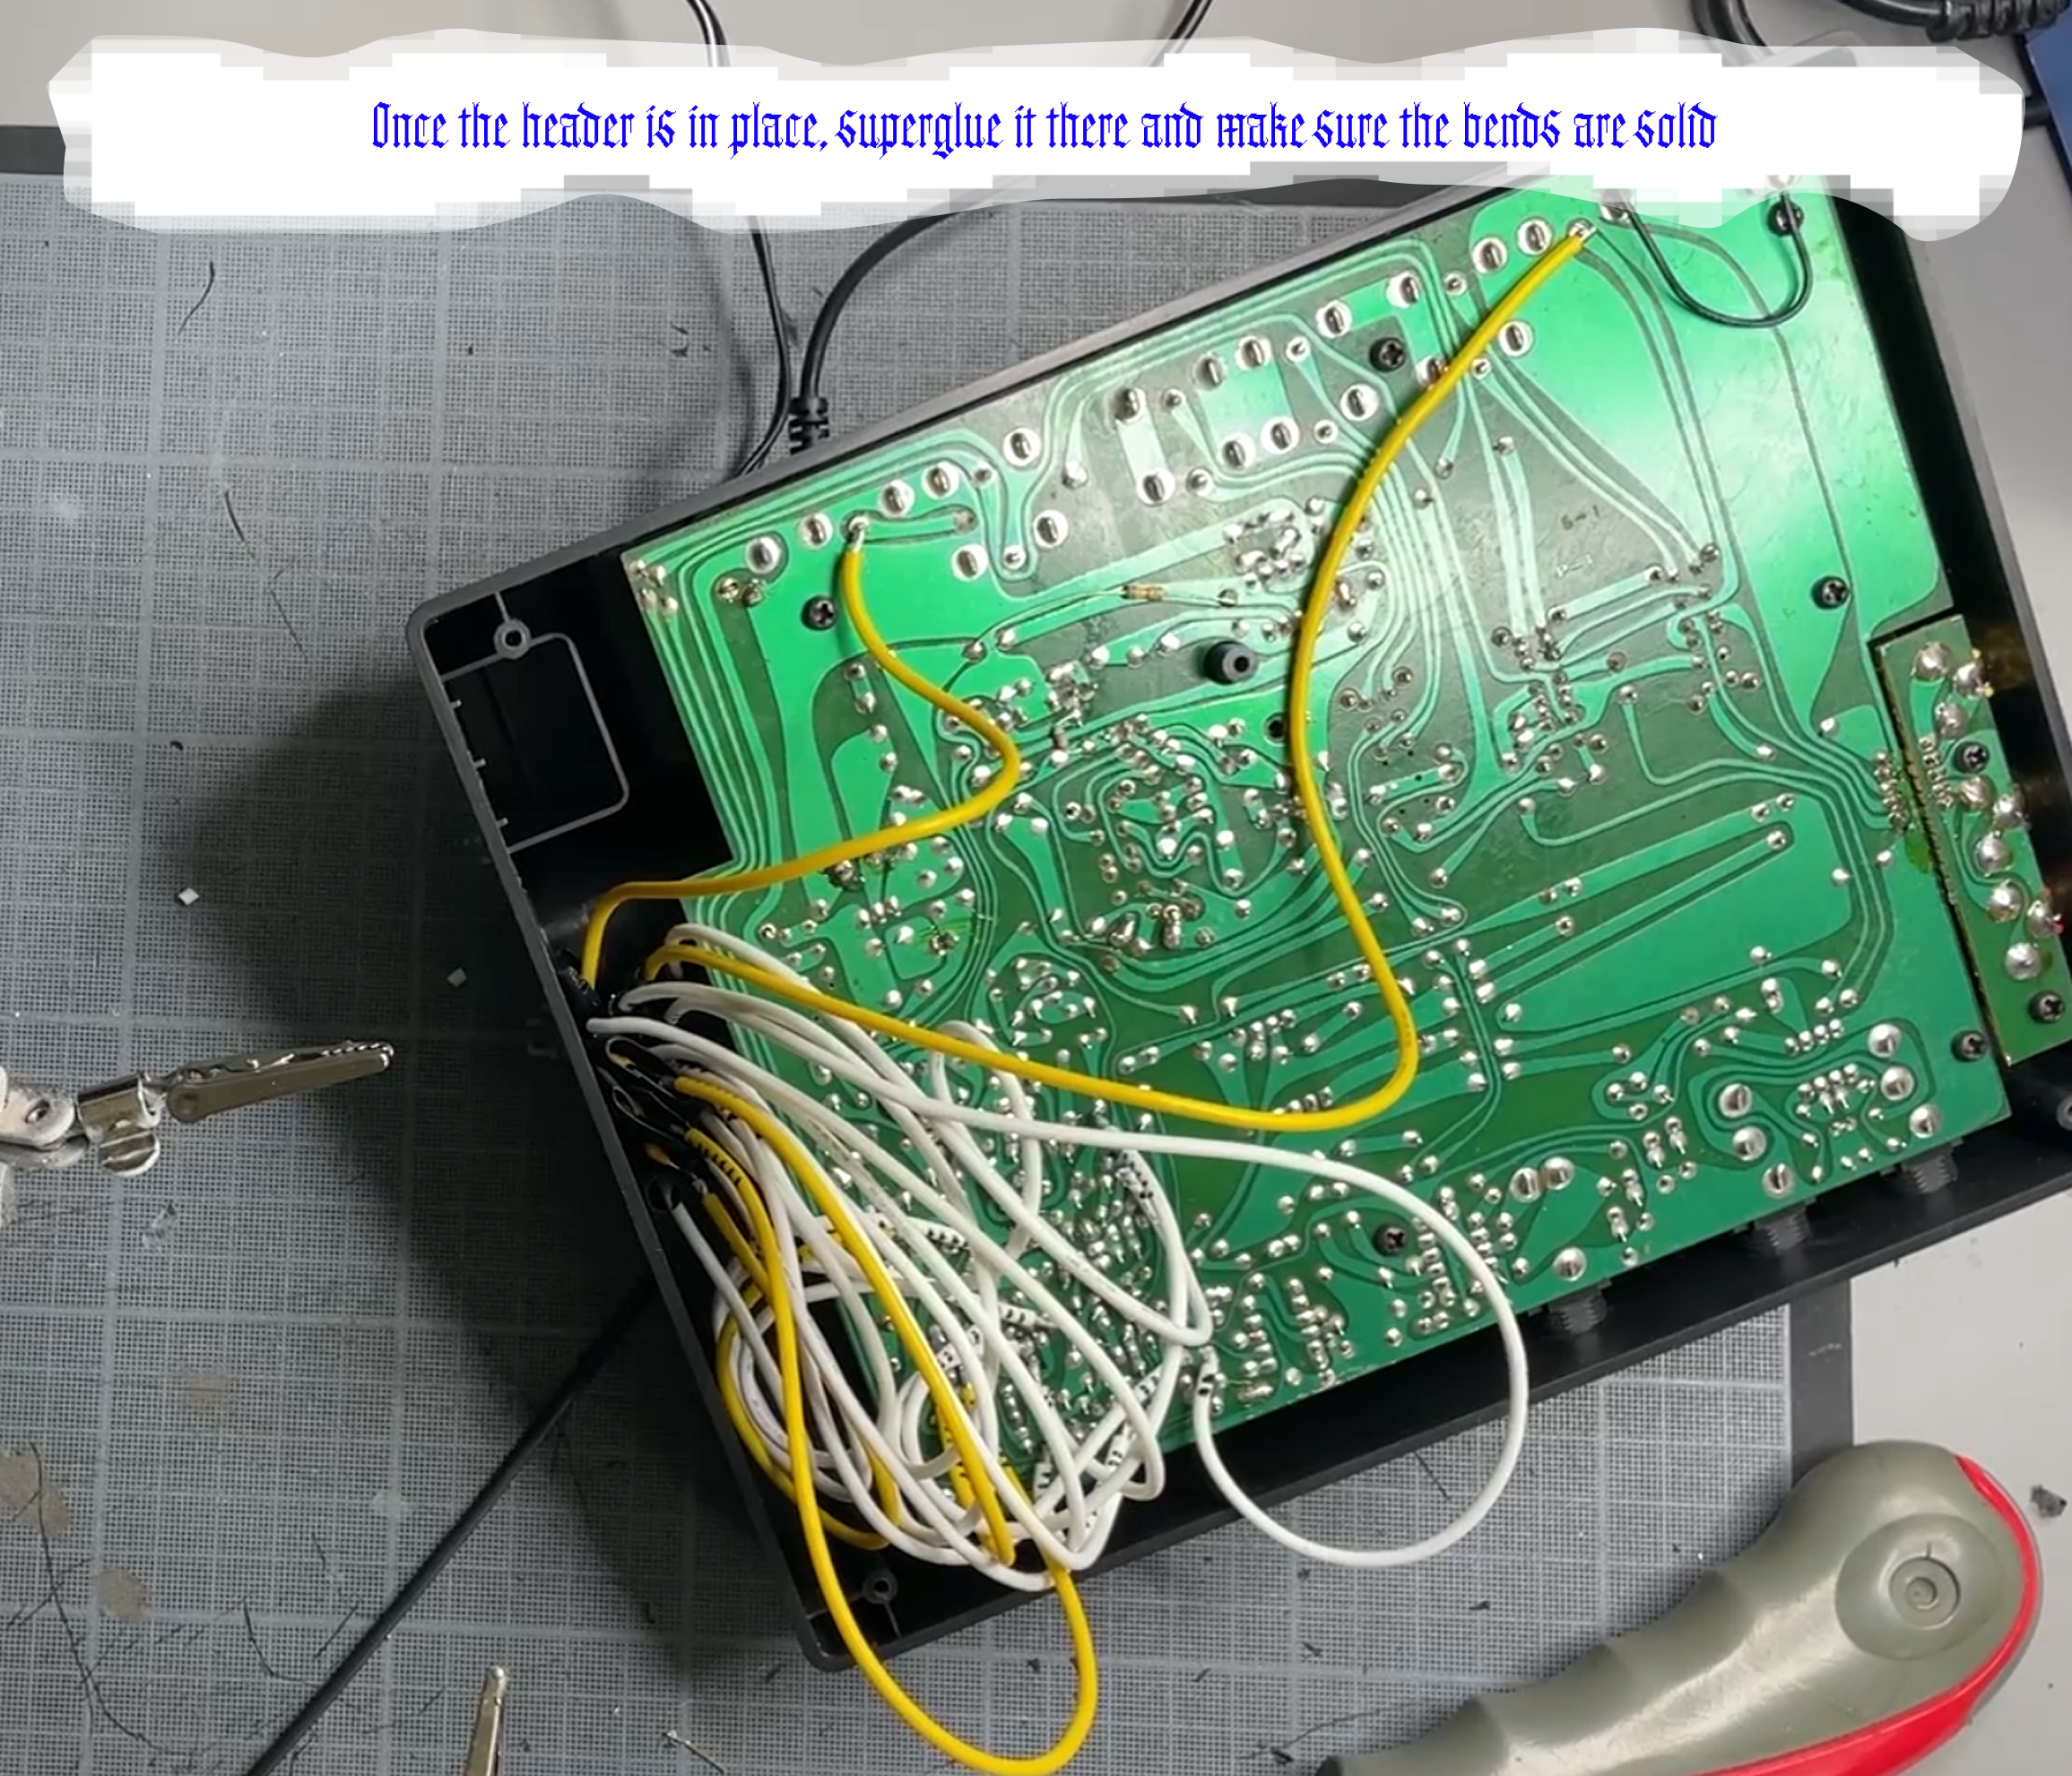
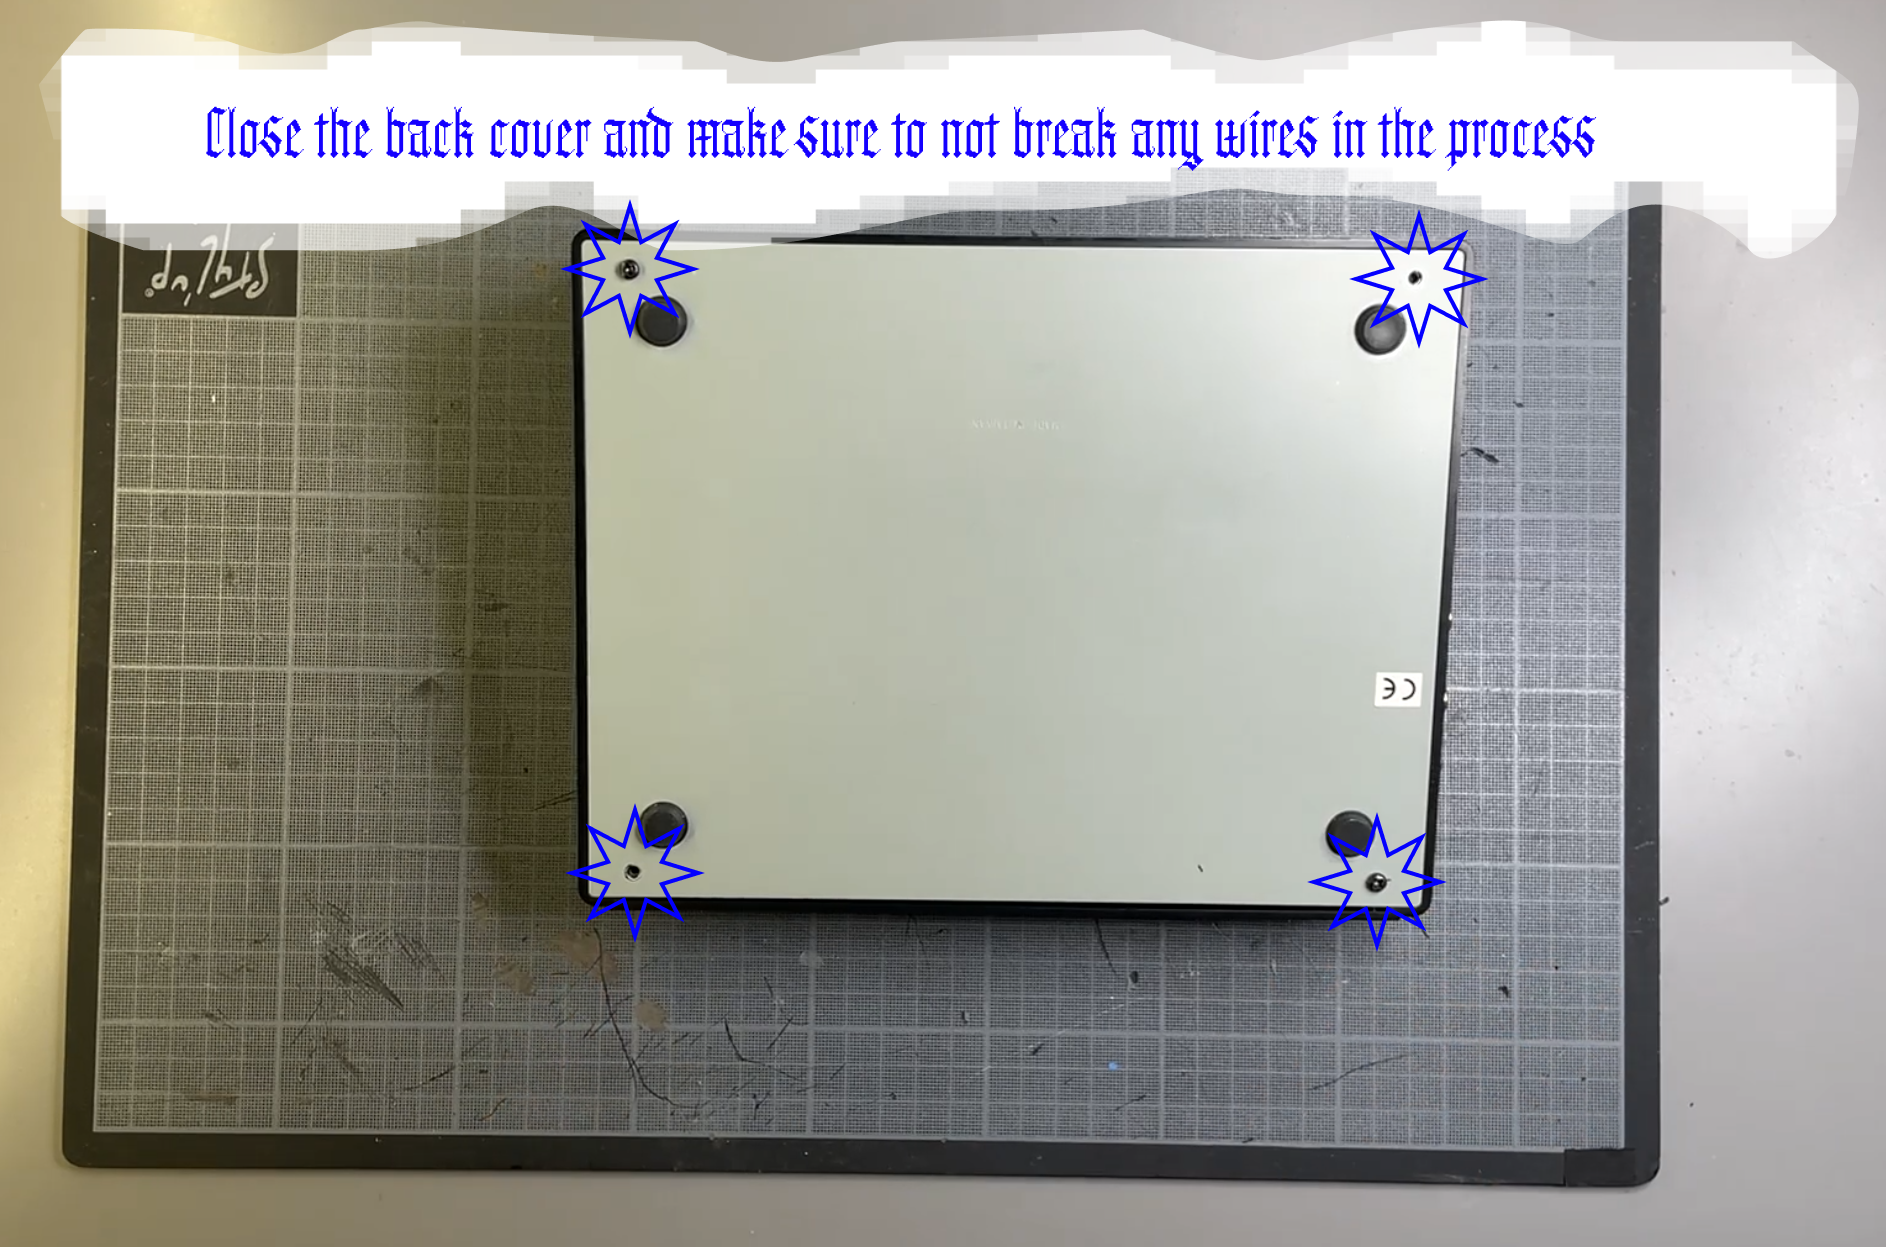
Today we are going to take it appart and mess with the video enhance circuit on the back of the board. You can follow the steps described on the pictures on this page. Make sure to visit my website on a computer and not on your phone for a better experience (yea I am very bad at coding stuff).
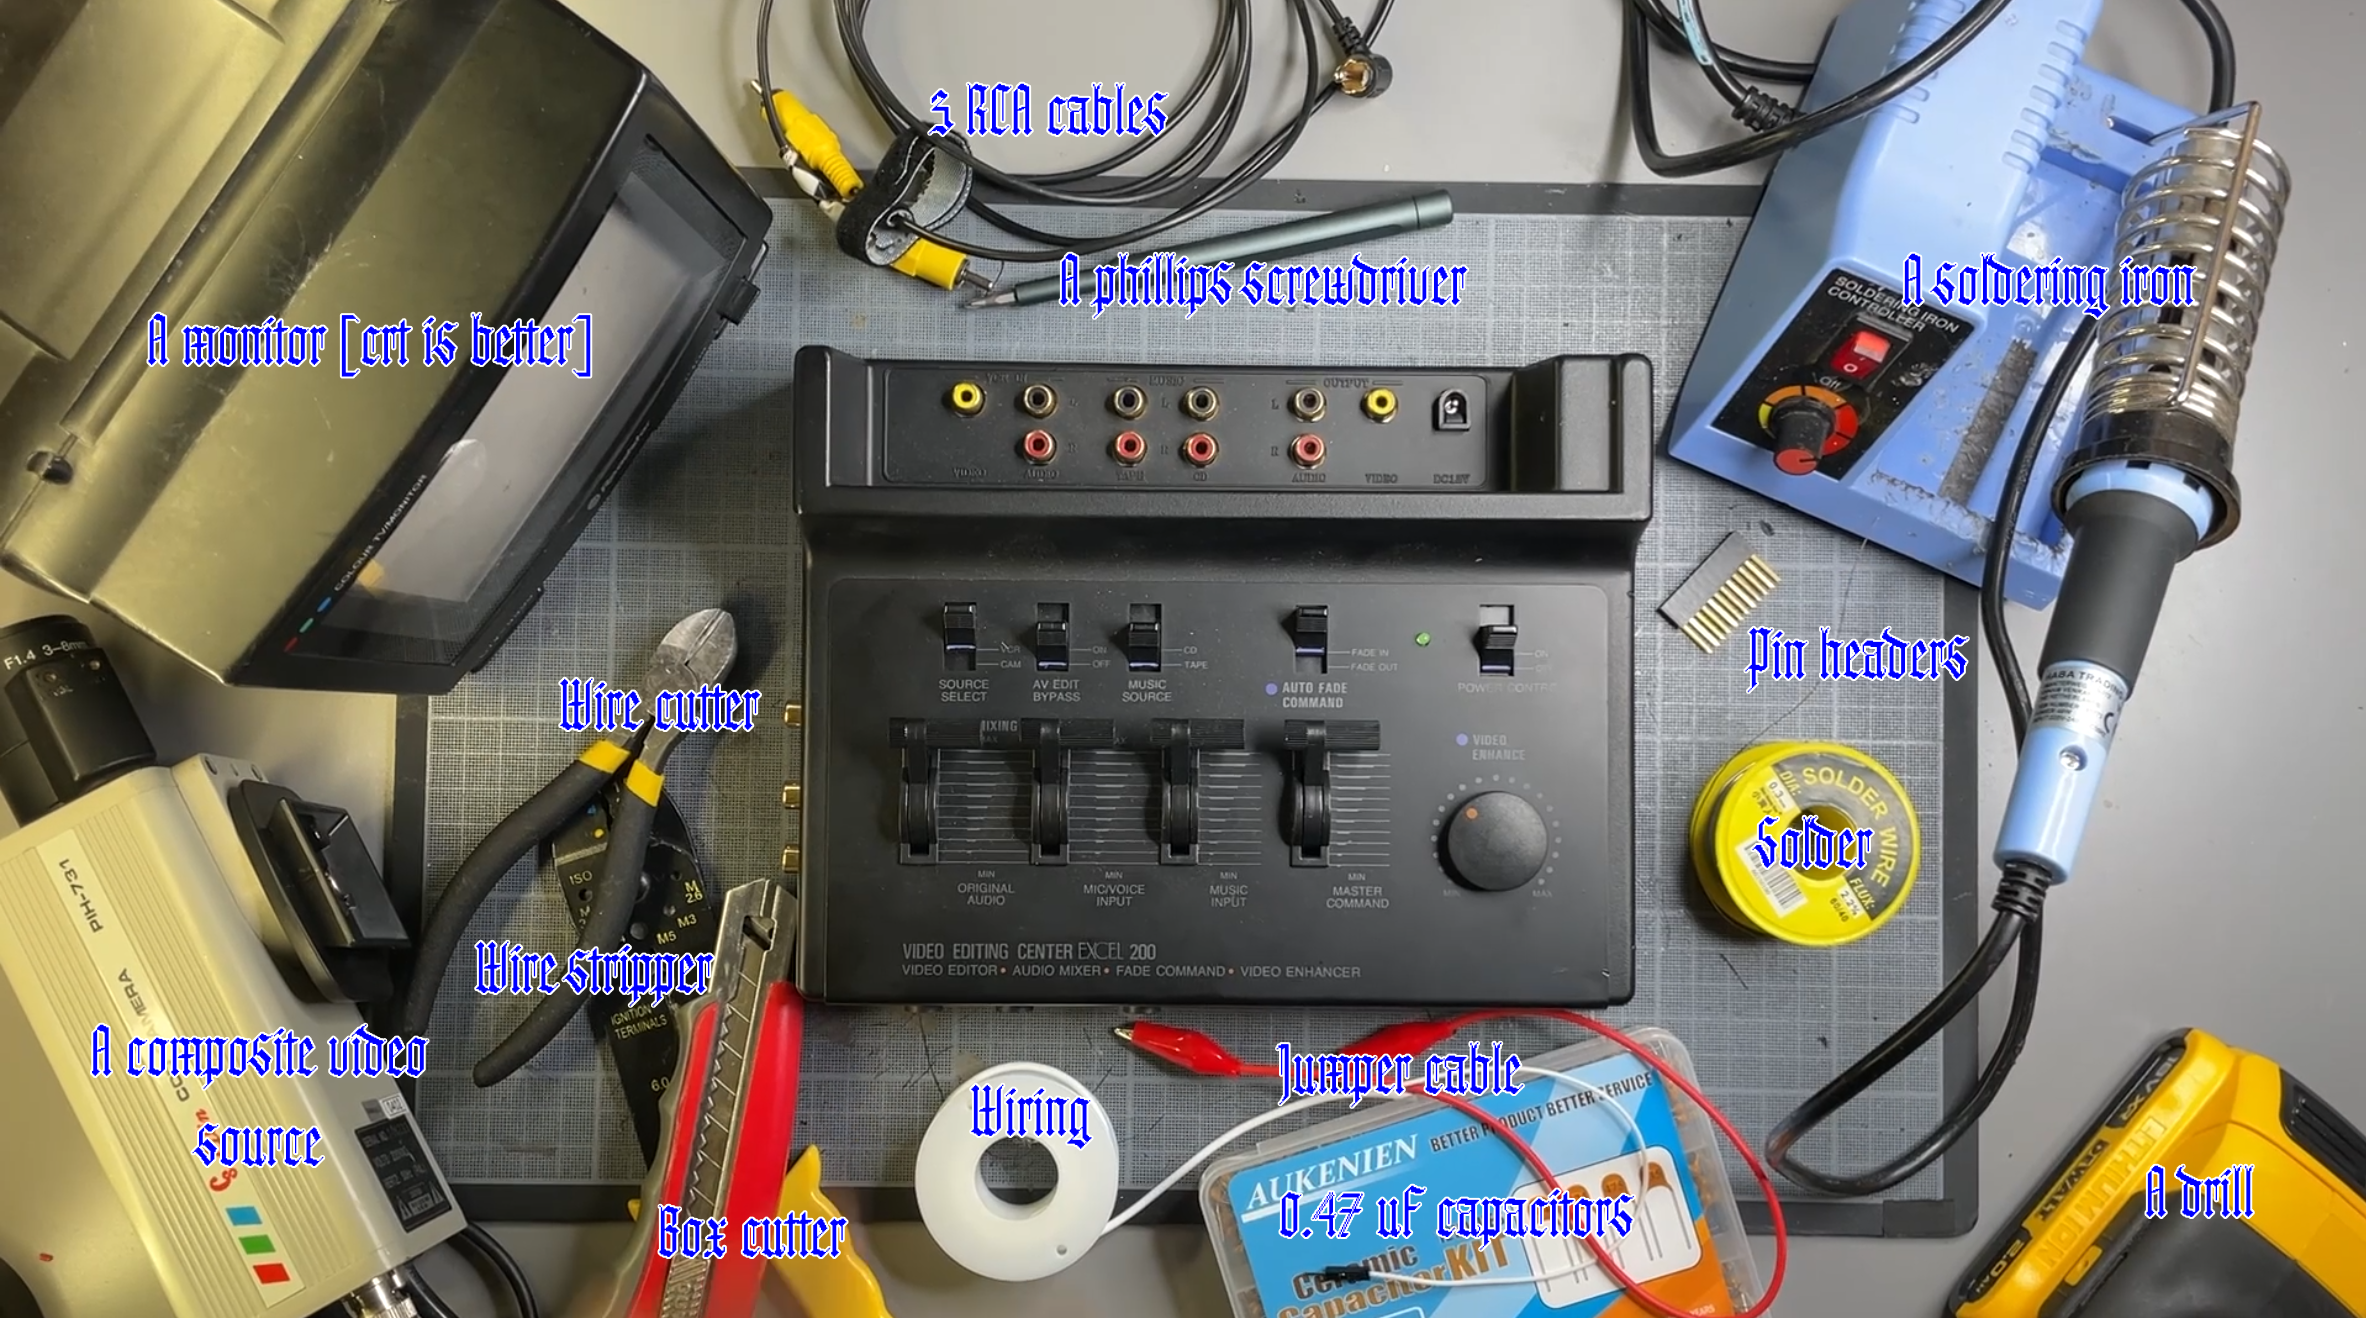
The tools we are going to use for this projects are :
✸ A soldering iron
✸ Solder wire
✸ A jumper cable or aligator clip
✸ 5 0.47µF ceramic capacitors
✸ A 24pin headers, or any control you want such as potentiometers, switches etc.
✸ A philips screwdriver
✸ Some wiring cable
✸ A wire stripper
✸ A box cutter
✸ A wire cutter
✸ A composite video source, I used an old CCTV camera
✸ A CRT monitor or TV
✸ 3 rca cables to connect evrything.
✸ A drill to make space for your controls on the case
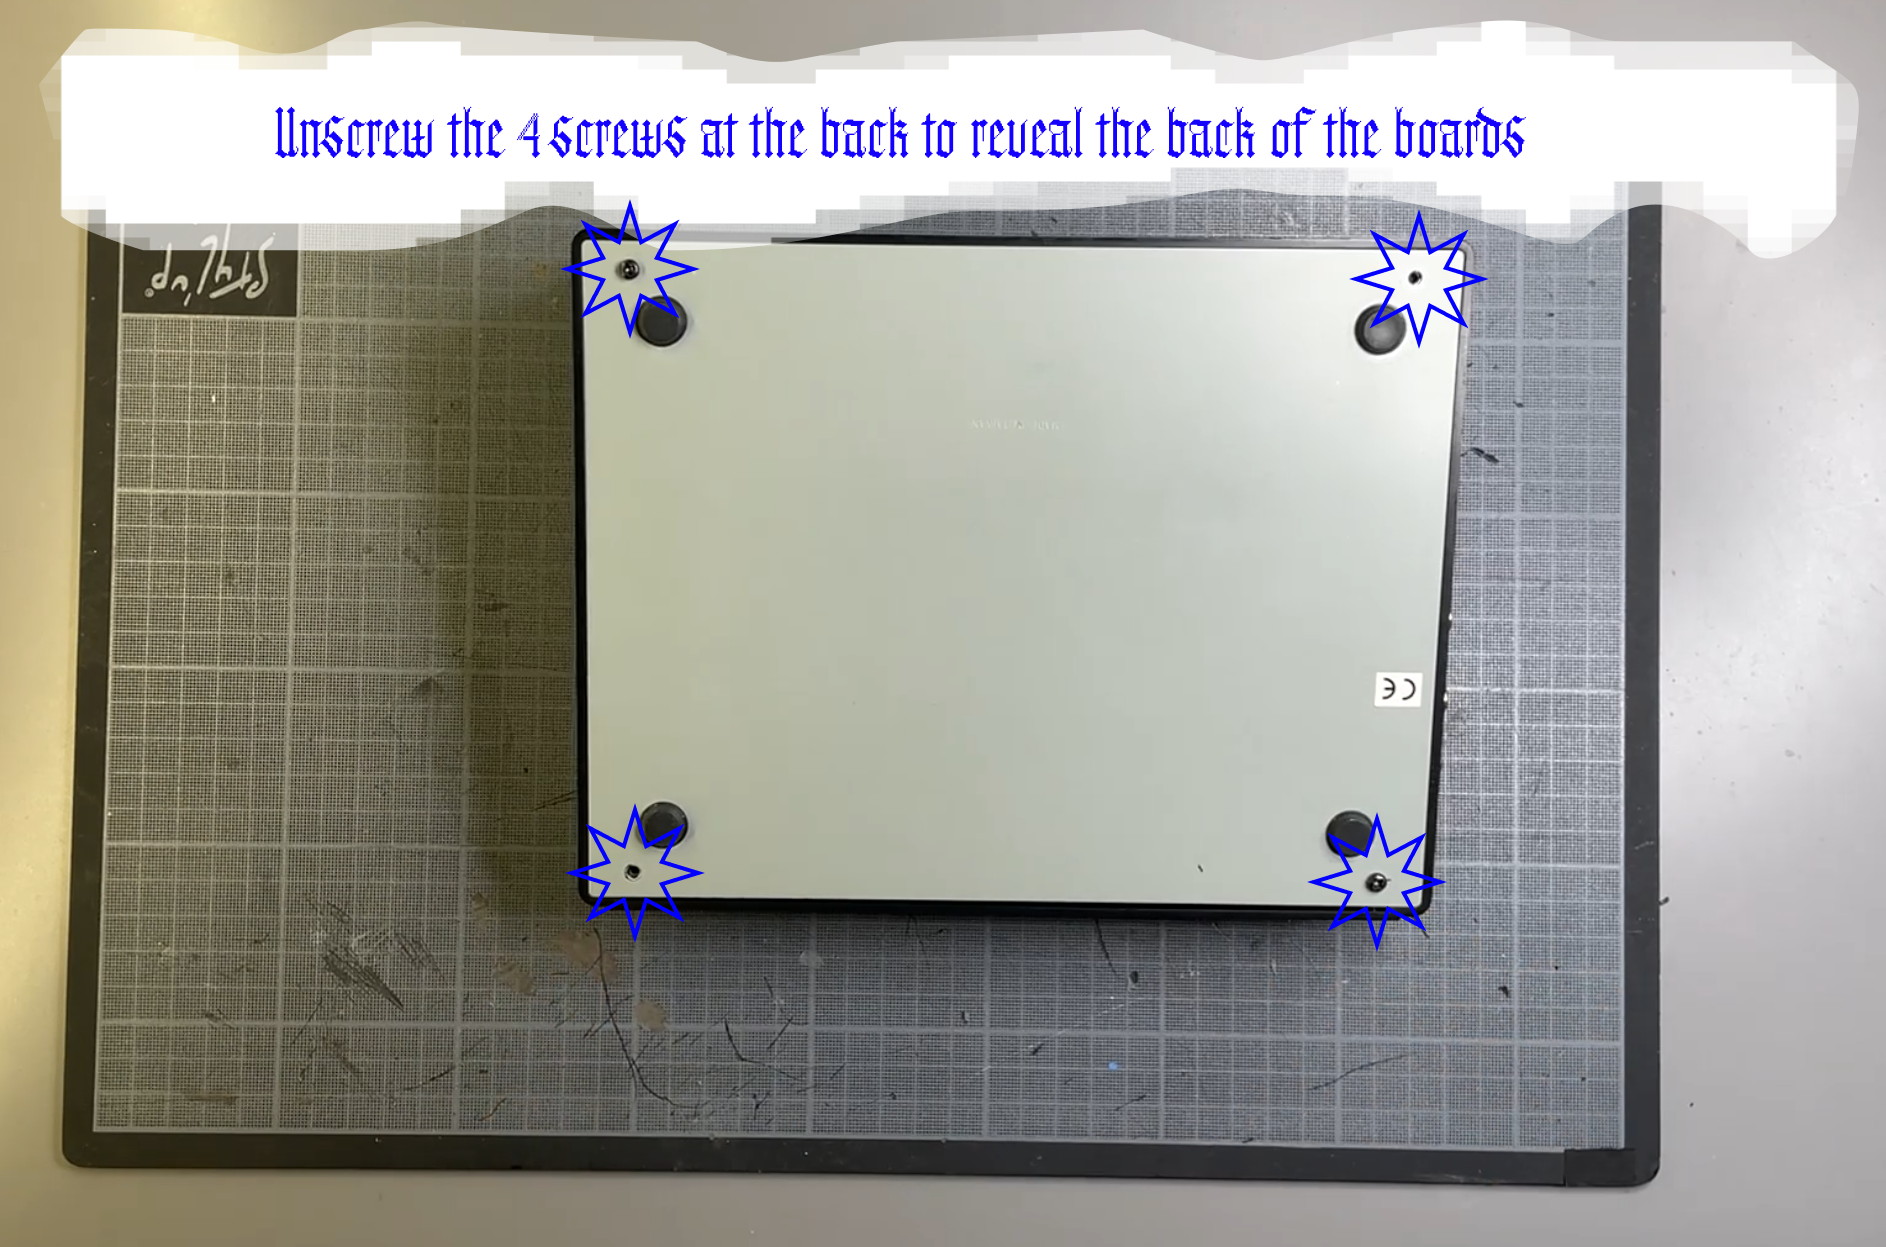
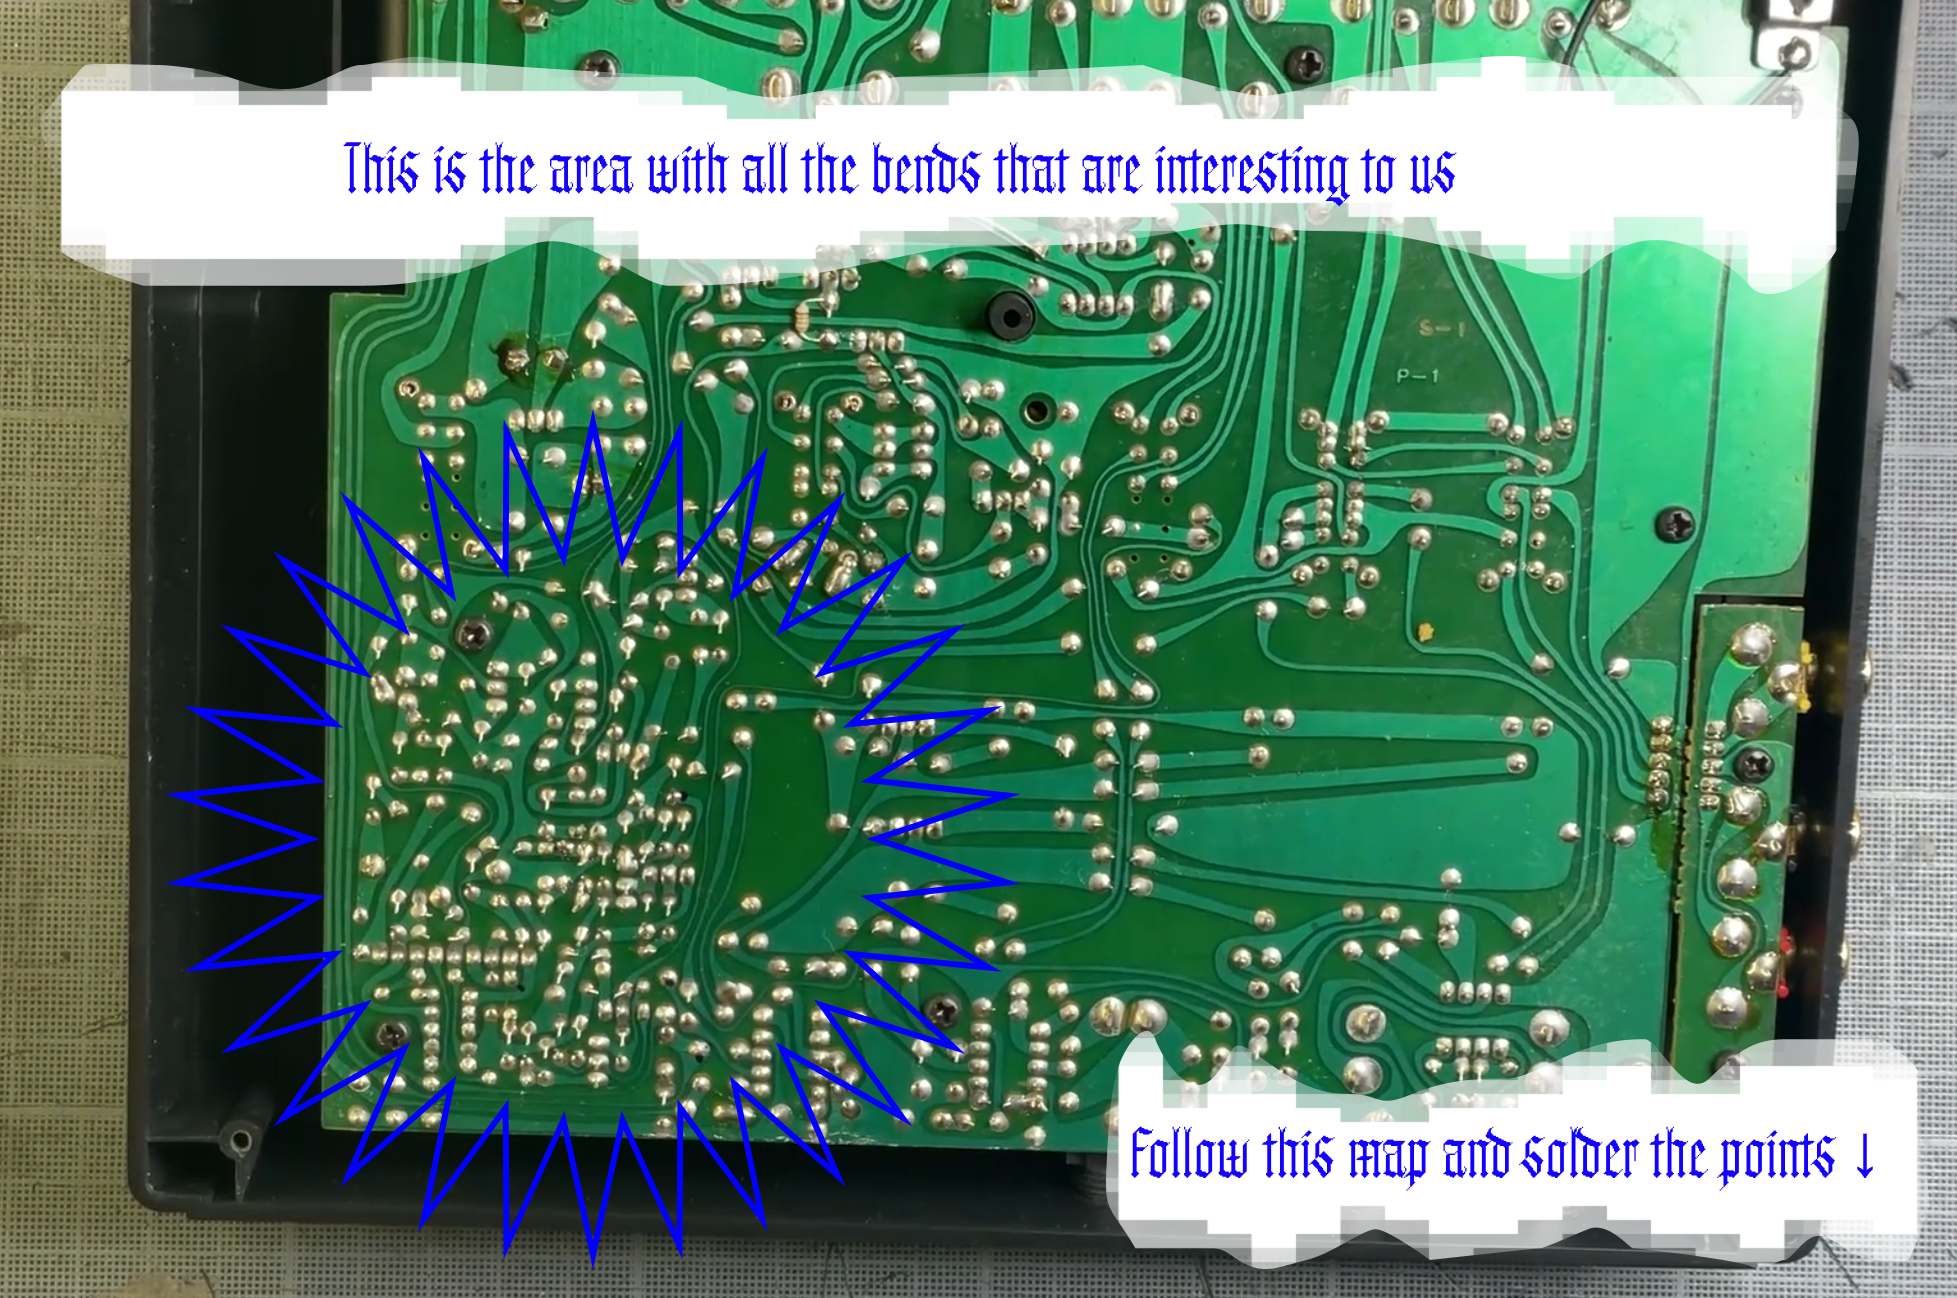
Begin by taking of the 4 back screws and the back panel to reveal the back of the board. On the bottom left, this is the part with the video enhancer section where we are going to solder to.
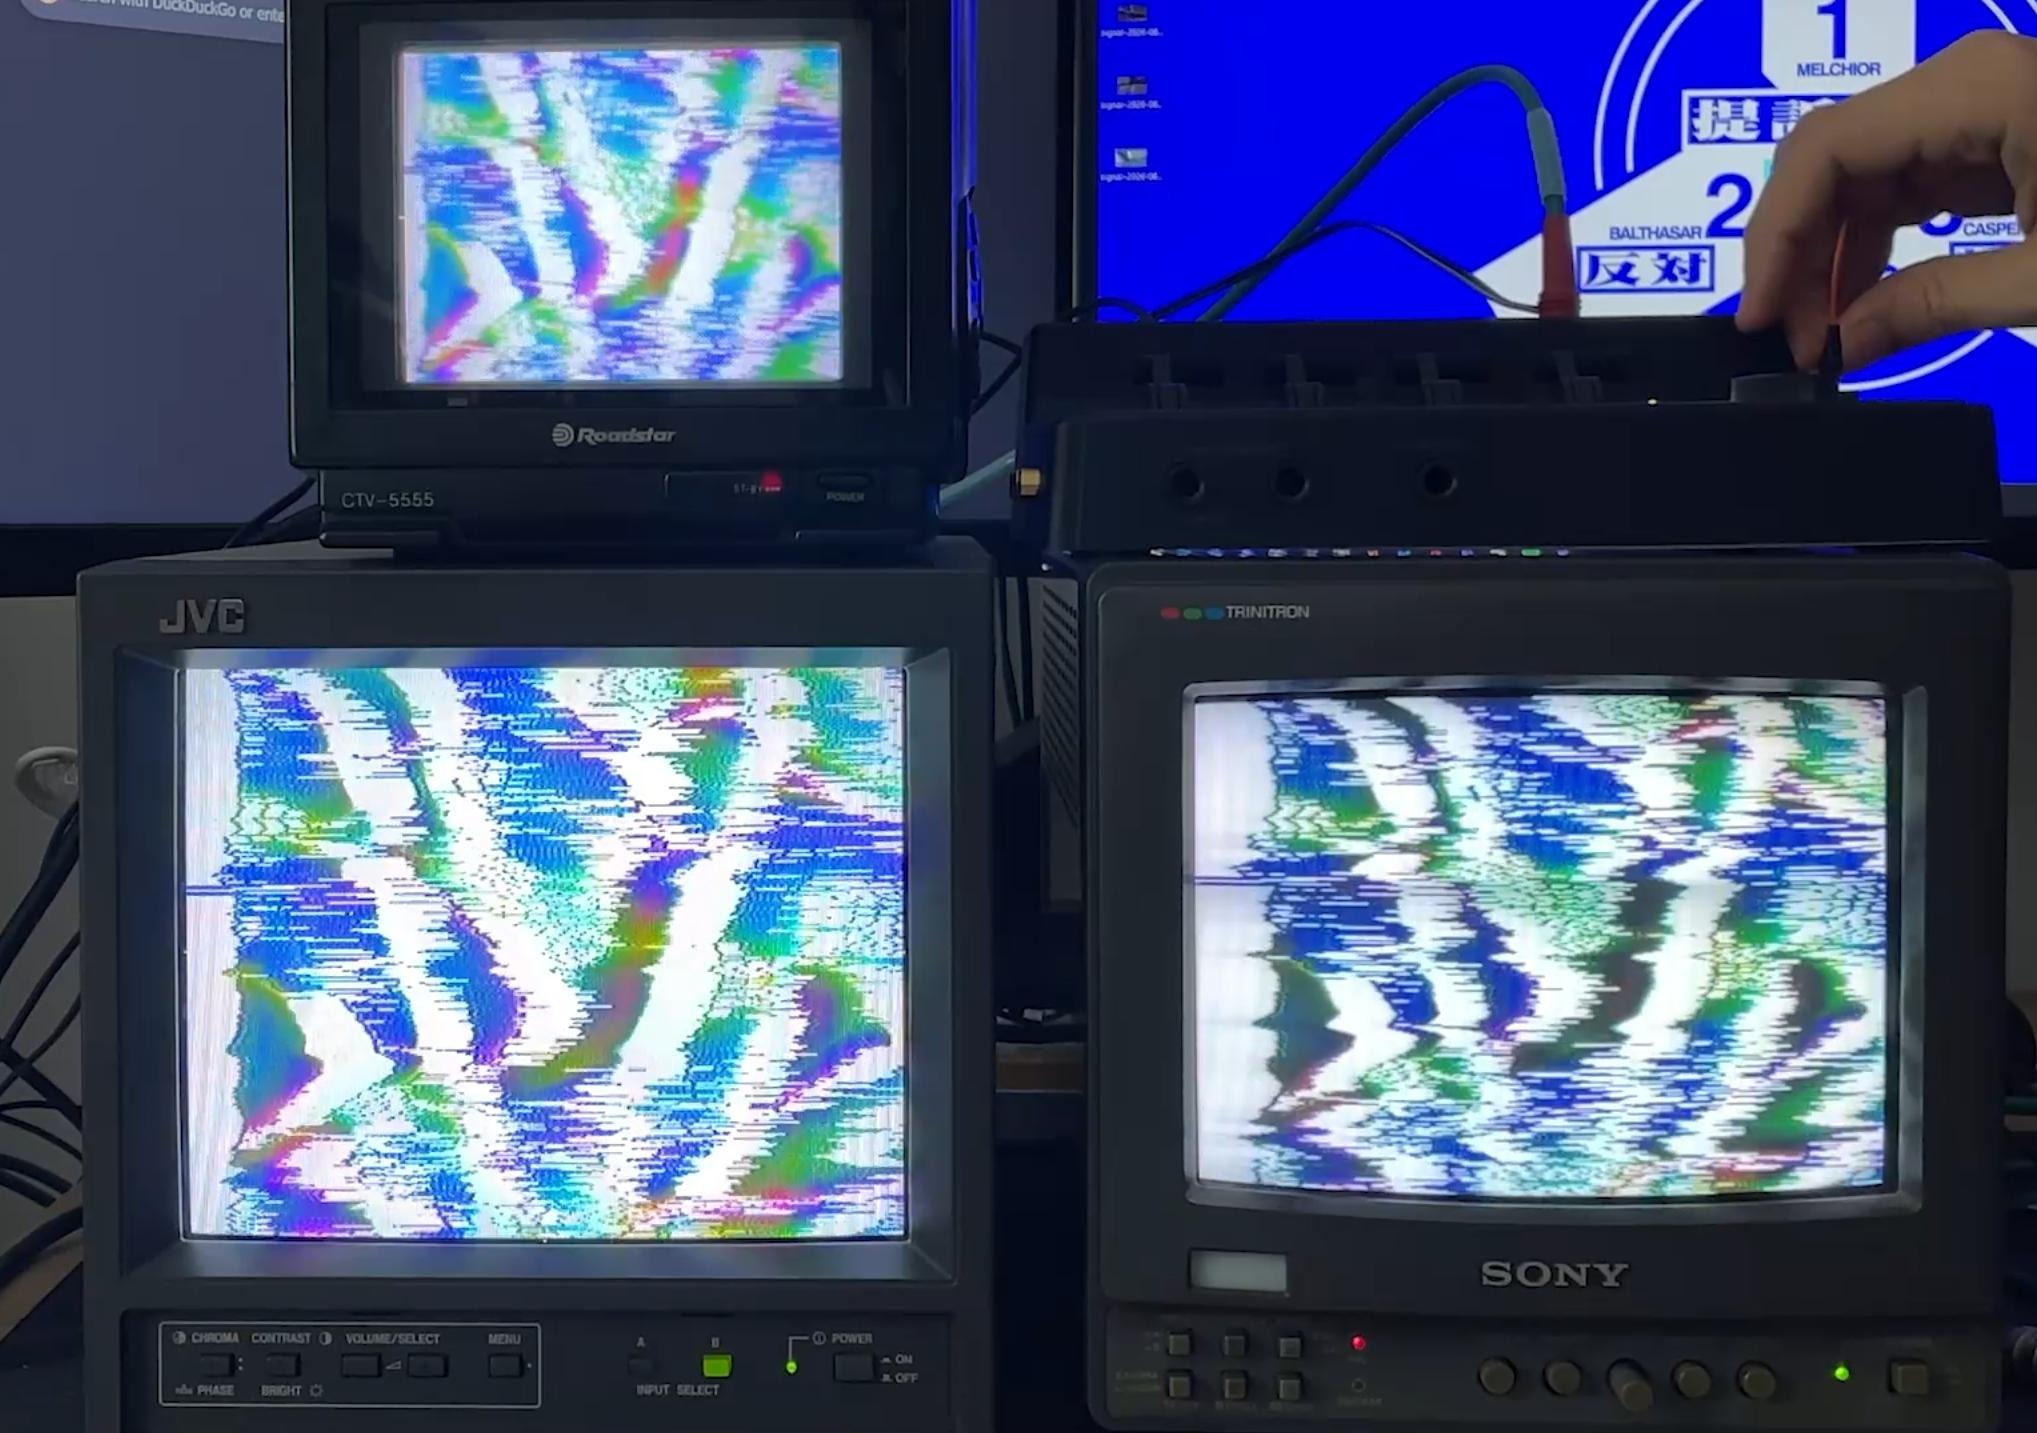
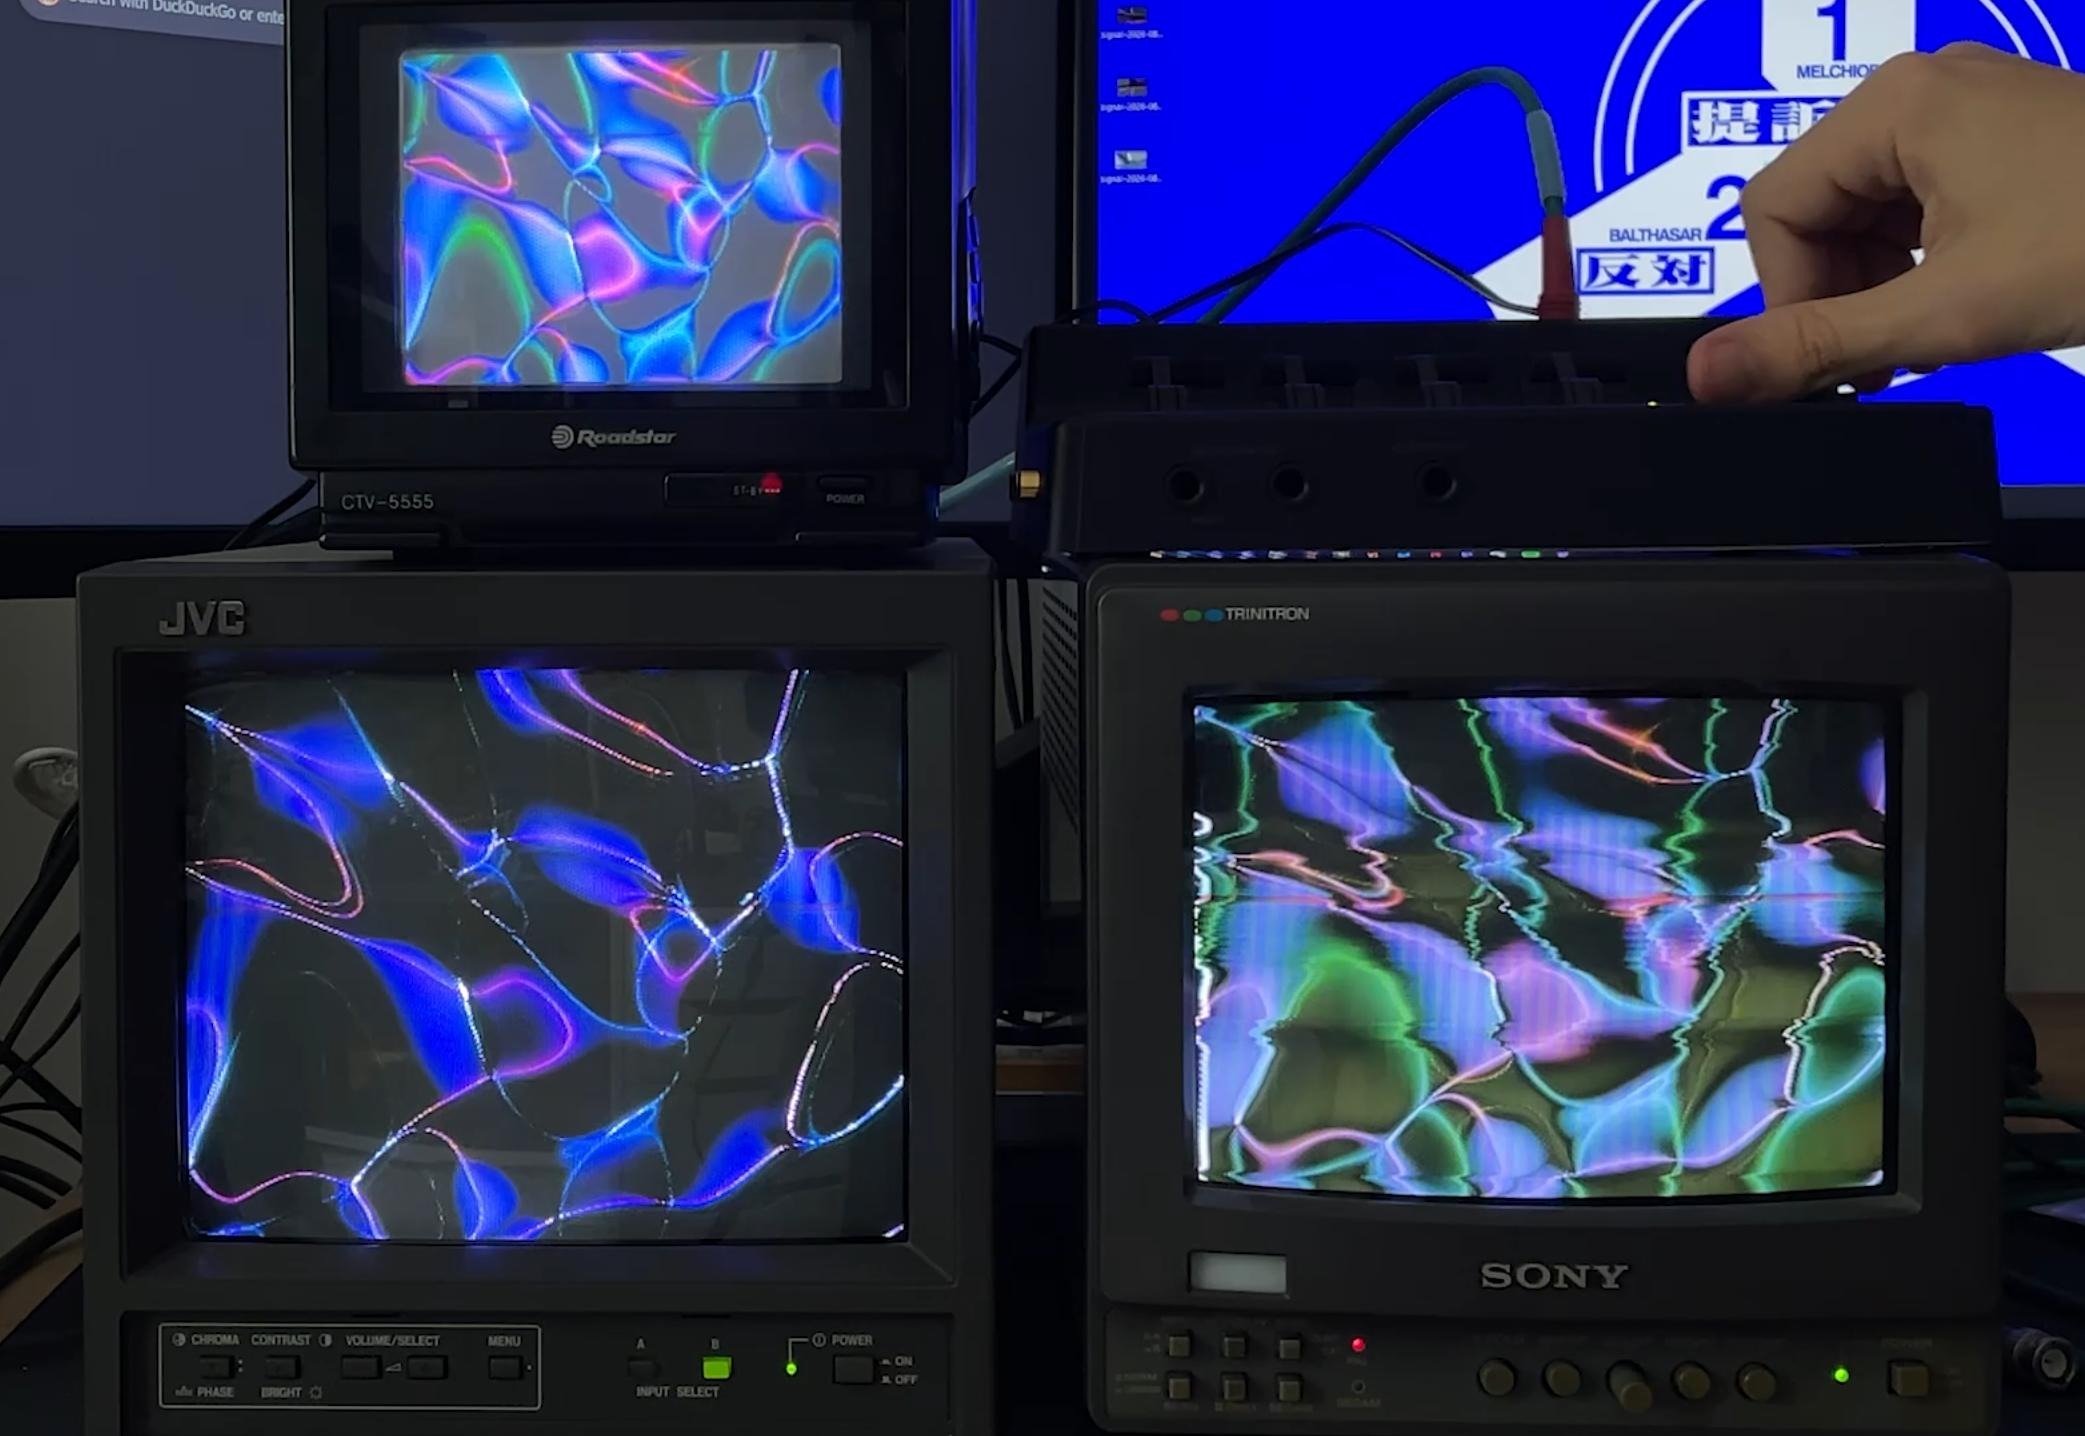
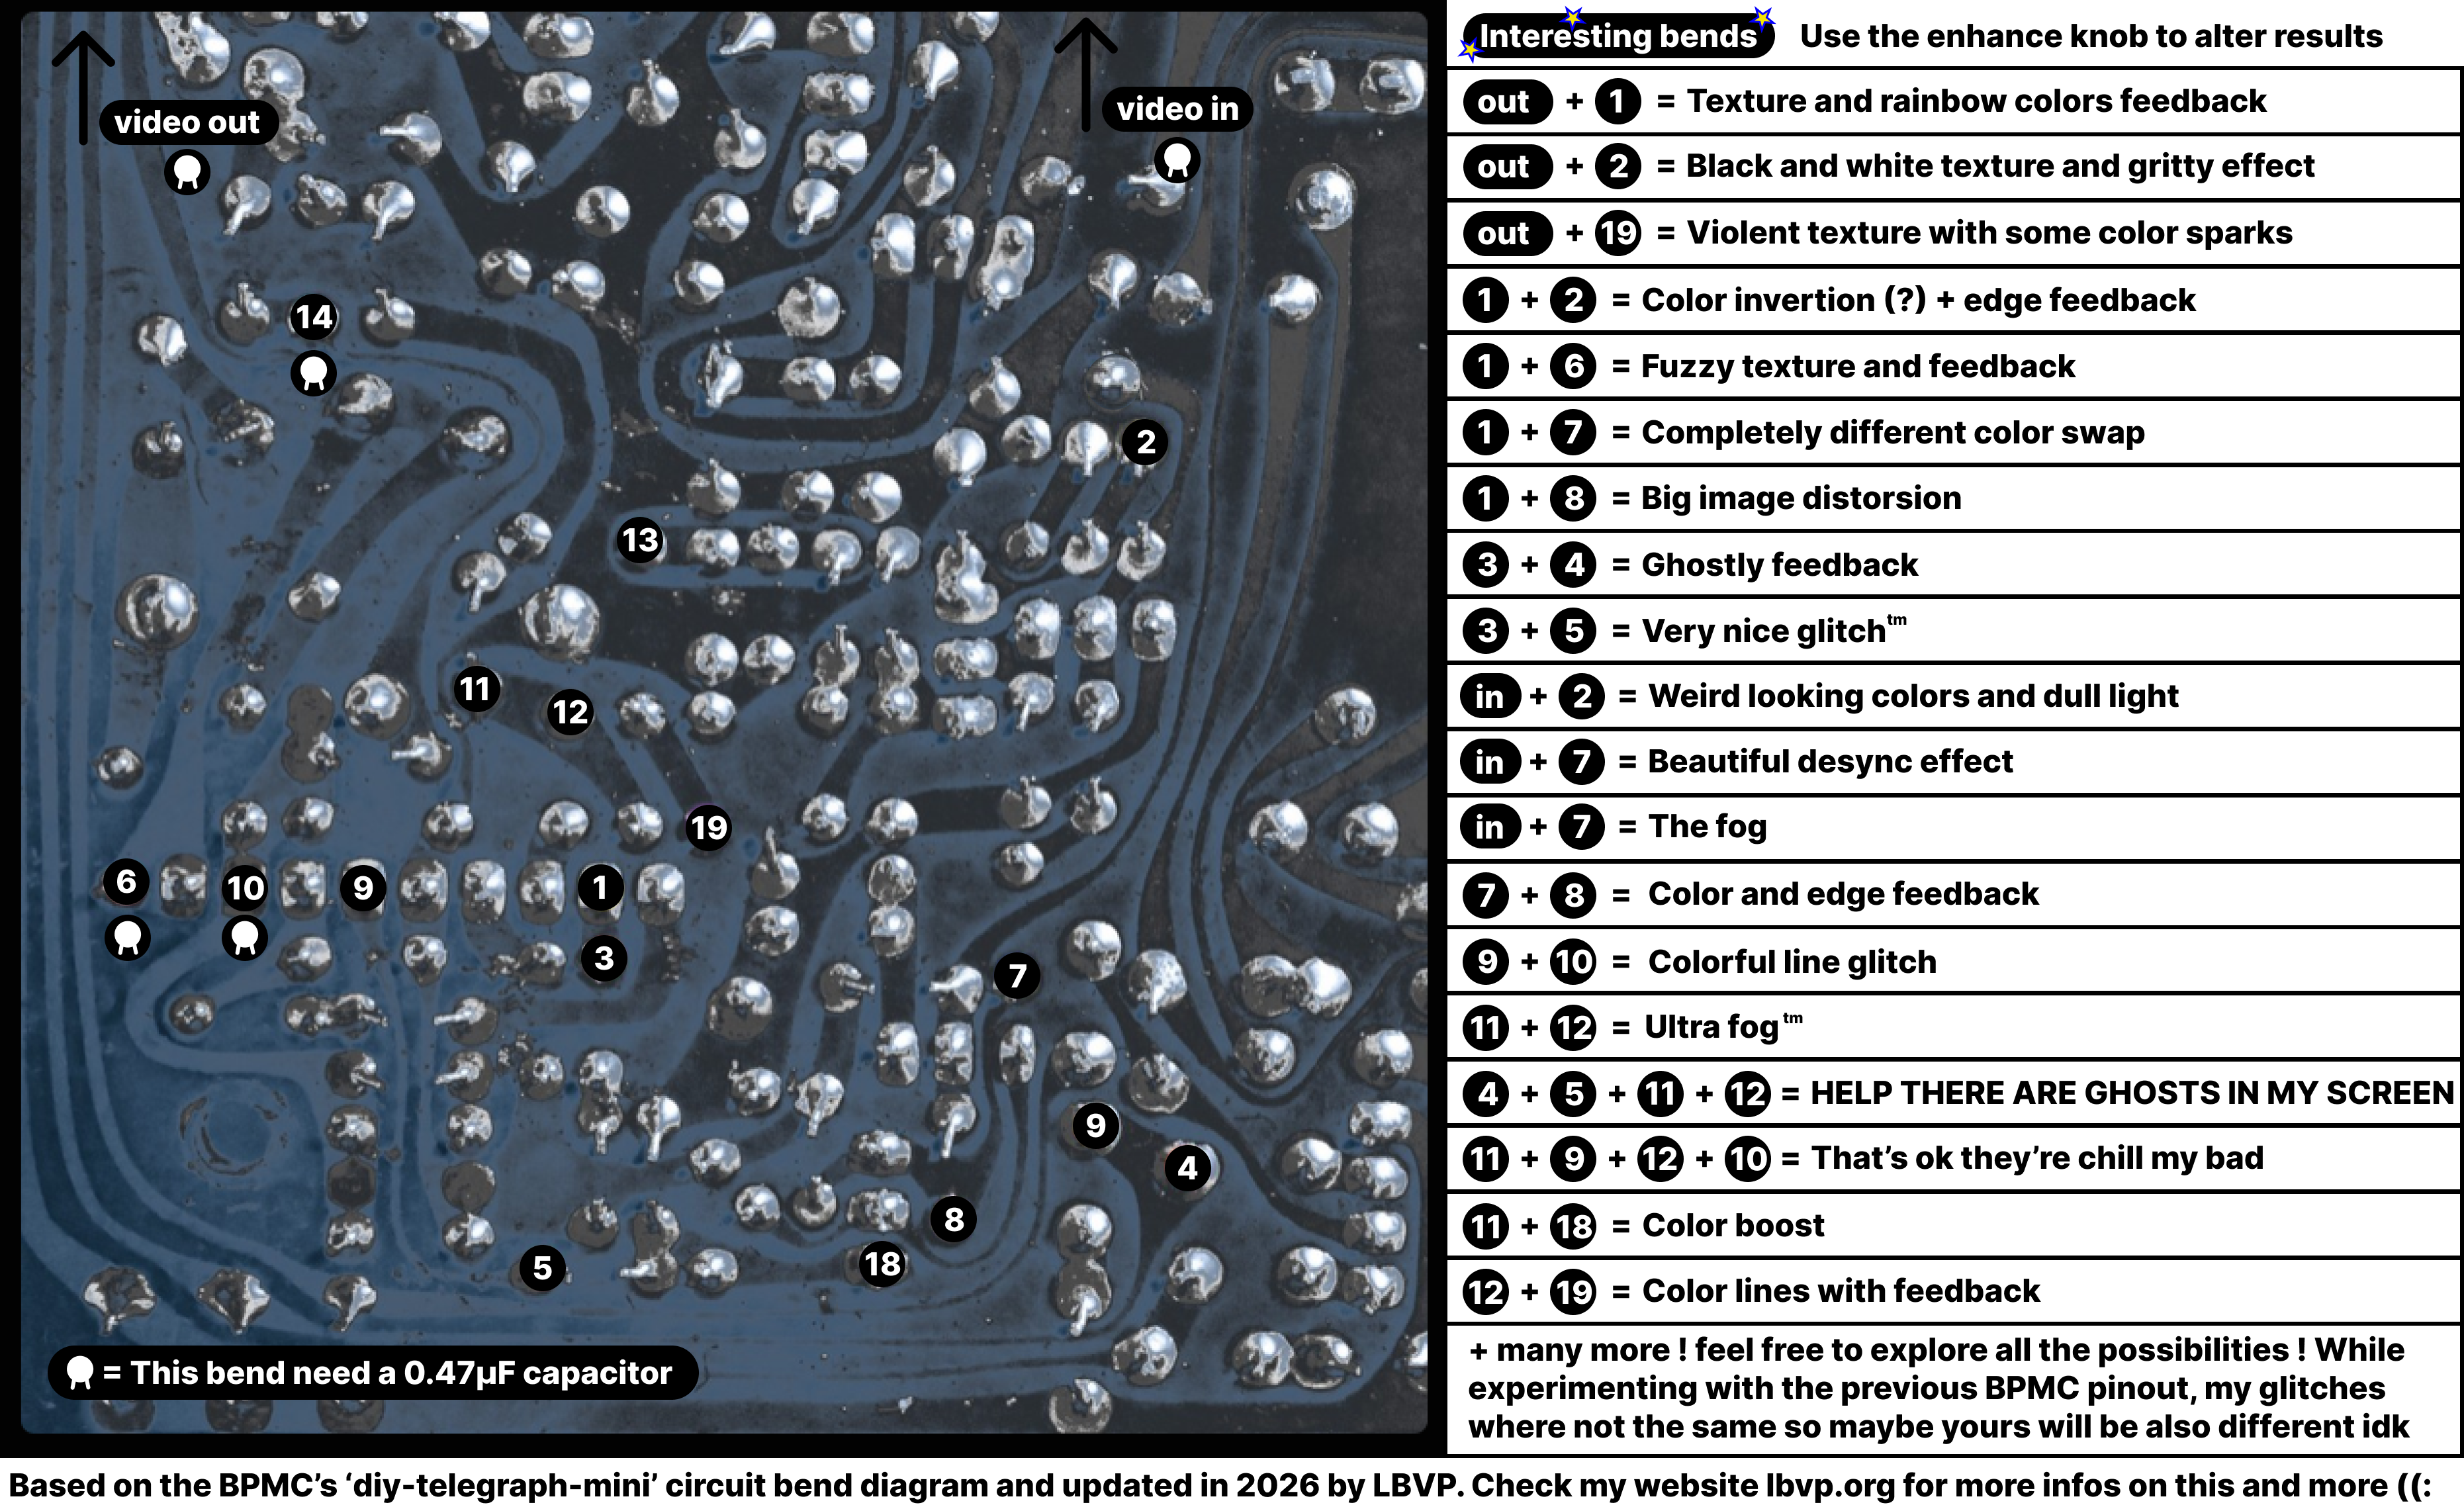
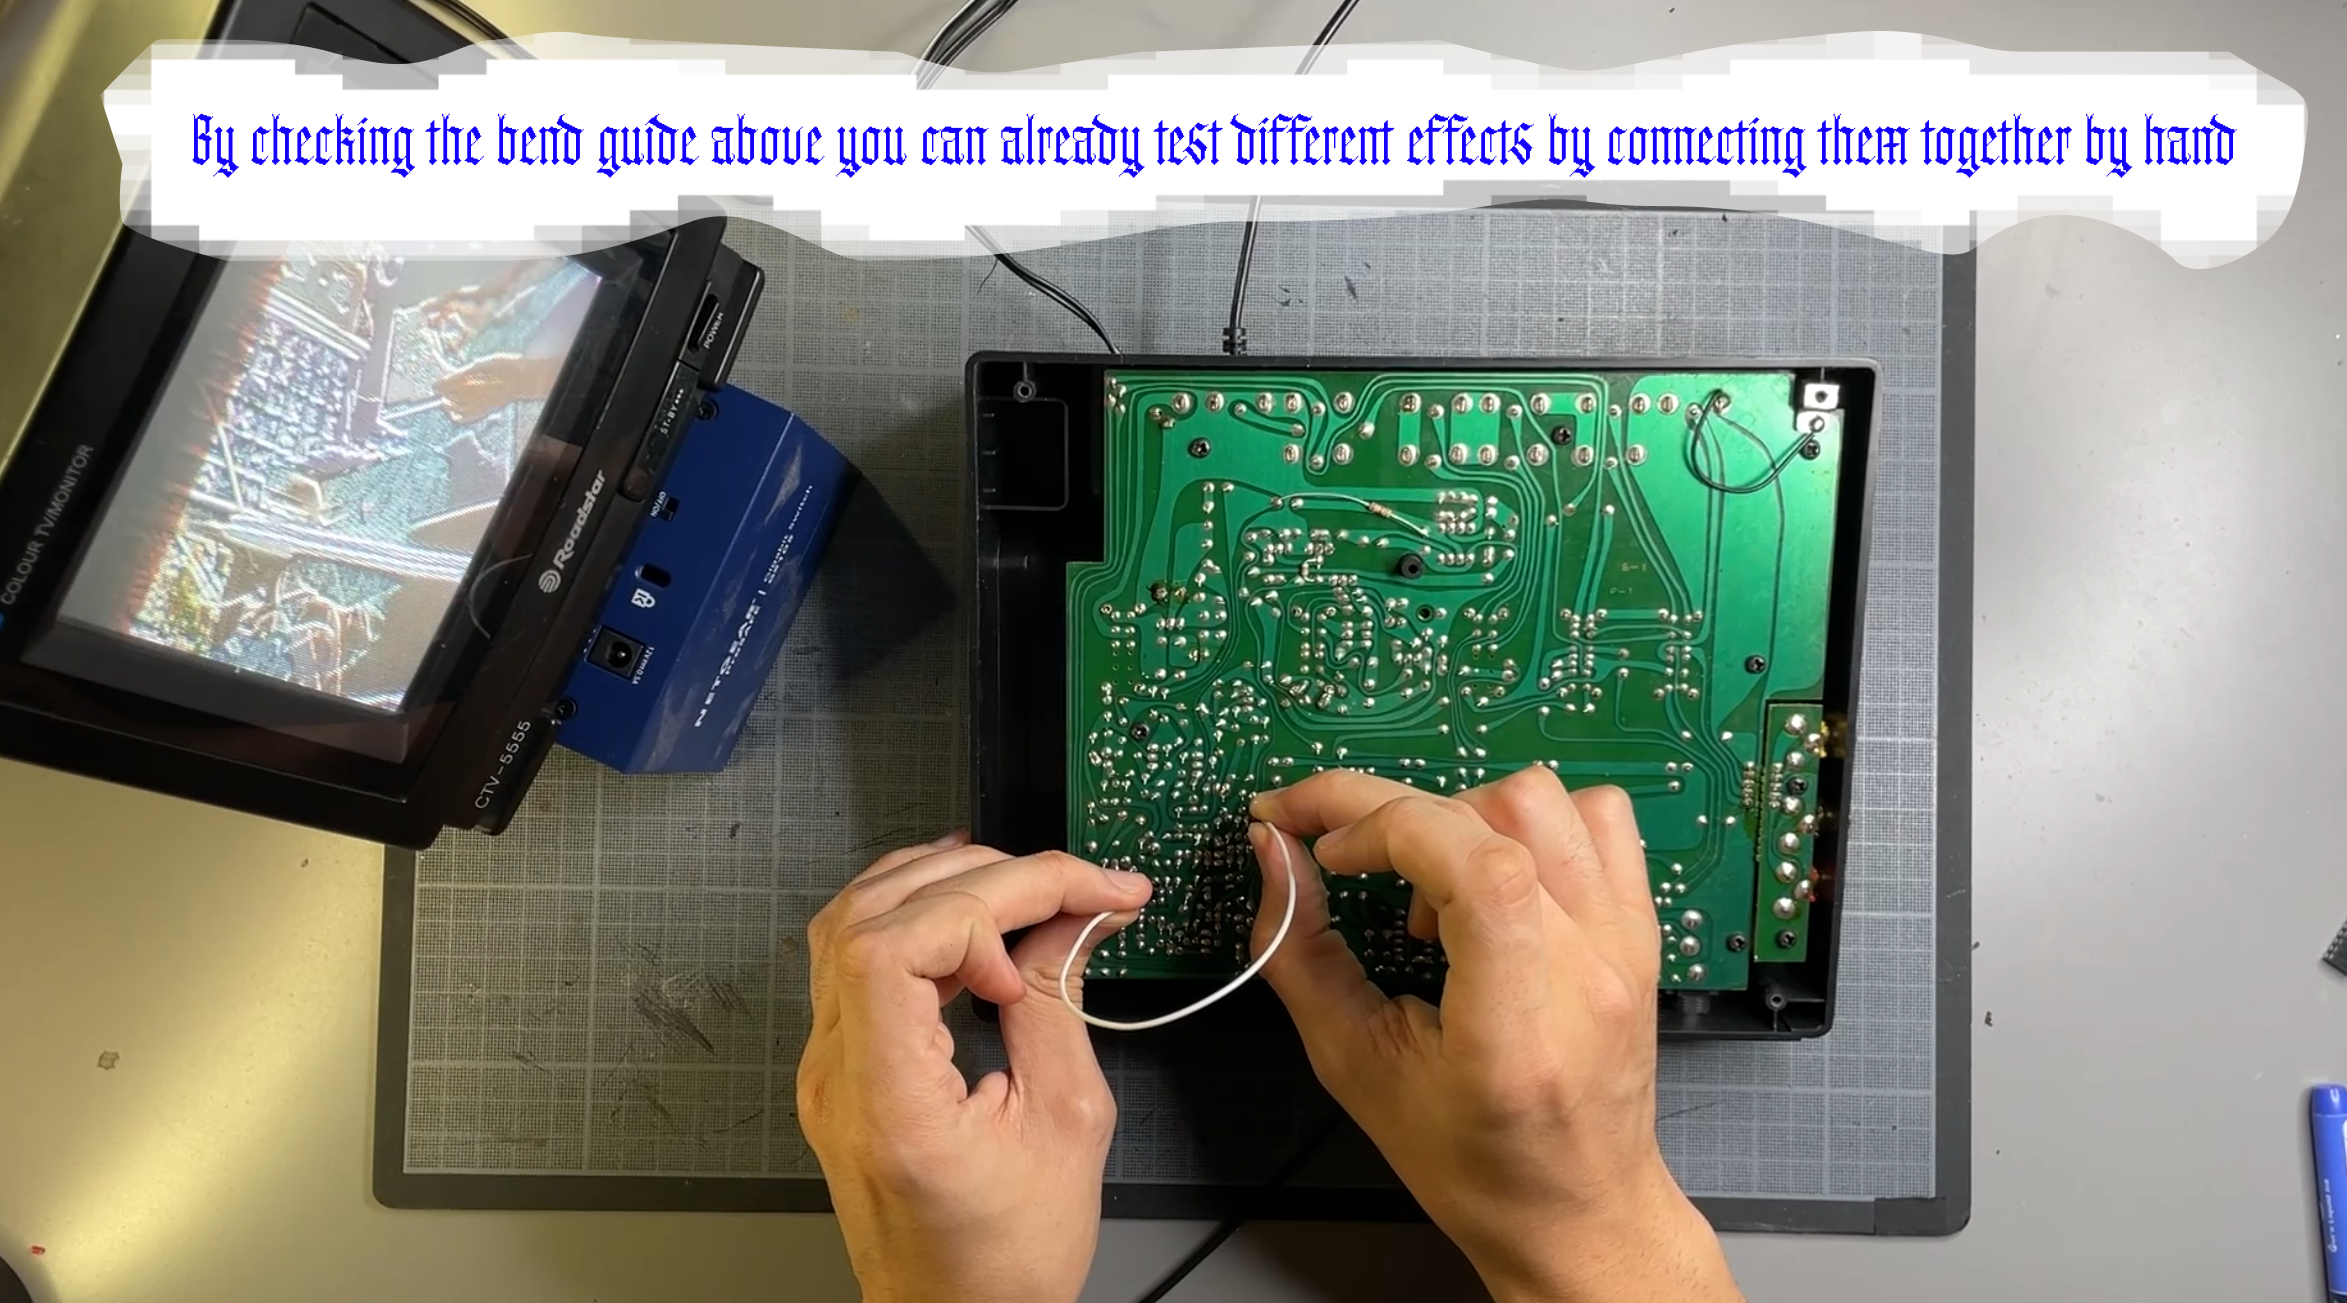
Connect your device with a video input and an output to your CRT and start testing the bend points by following the updated bend points map I provided. Make sure to use the enhance knob while you are testing a bend, so you can better see the range of effect youi will get. I also provided a list of interesting bends I found. ✸warning✸ this is the map of all the points I have used for my bendingn, feel free to experiment, but there is not REAL garanty og getting the exact same glitches I got + I might be completly a stupid girl and/or have dementia idk.
Once you have identified a bend point that catches your eye, mark them with a marker and solder the two points with two pieces of wire. Repeat the operation until a wire sticks out of every bend point you found intereting.
Once all the bend points are deported onto wires, solder each ones to a leg of the pin headers, or any sensor component you want that can connect two points together. Finaly add a way to shuve everything back into the case and superglue it in place to the bends stay solid and cant disconnect over time or shaking.
Once everything is in place and you have made sure that your bends still work without any shorts, close the back panel and VOILA, you have a super cool glitch machine video enchancer :data
I tried being as clear as a could and tryed to make the best step by step video I can because I feel like there is not a lot of documentation on this awesome topic that is circuit bending, if you have any questions, post a comment under the video I will try to answer them frequently.
Also If you liked this topic, Last year I made a video about circuit bending a toy camera the easy way with a breakout board without having to mess with thin copper wires. Make sure to check this out.
If you want to buy one of the bent units I got, email me at luciepipard @ protonmail .com (:
> BPMC original bending documentation
> French version of this page
> Link to the video tutorial
> Link to the trashcam project page I did last year